So I went through the example file Mountain and Lake to deconstruct it because I thoroughly liked that scene and wanted to learn how it was created. As I created an exact copy to learn, I noticed the Basic Renderer node that I created is not like the one from the example file despite being the same under the hood.
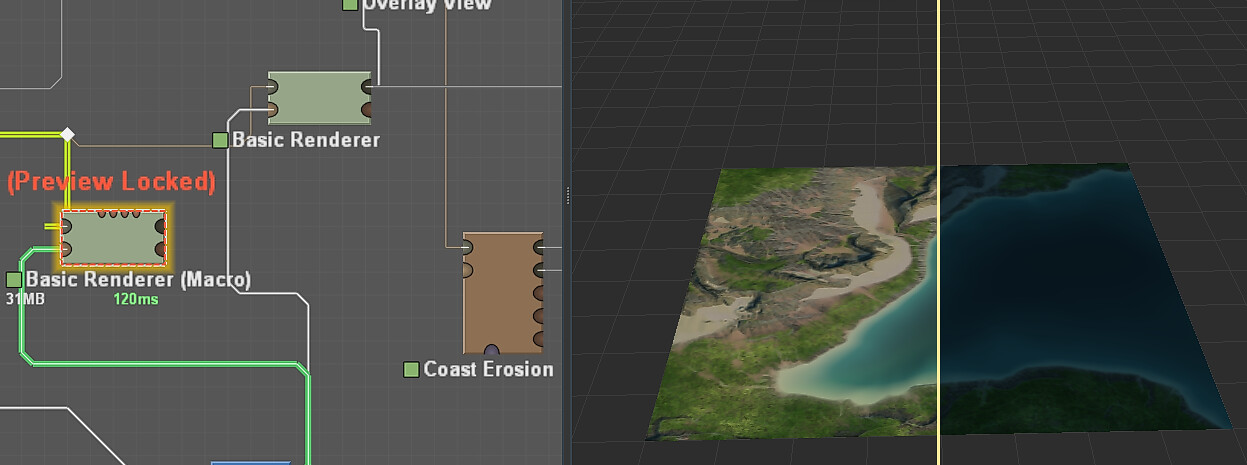
I created a new basic render node just to compare and it seems to darken the colors for some reason. I don’t know why. If the screenshot is showing up, the locked node is the darker colorson the right, and the one from the example file is on the left side of the A/B split.
It has to do with the Sun Heading and Sun Altitude parameters from the Bake Lighting device inside the macro. Currently, the Use Global Light Direction is not working, and this feature is how the Basic Renderer macro was able adjust its light based on the light direction you used in the 3D Preview window. Since that no longer works, you must go inside of the macro, and manually adjust the sun parameters from the Bake Lighting device. And that’s where the “problem” rises. The included macro has different values for its Bake Lighting node than the macro from the macro library, resulting in the different result.
I hope this resolves the issue! And enjoy World Machine