How do I export Scene Output as a 2D Colormap ?
I can only export it as a 3D object?
Bitmap Output node formats not do that?
also what about Material Output node?
they not cover your aim? ![]()
what Tomatiy said.
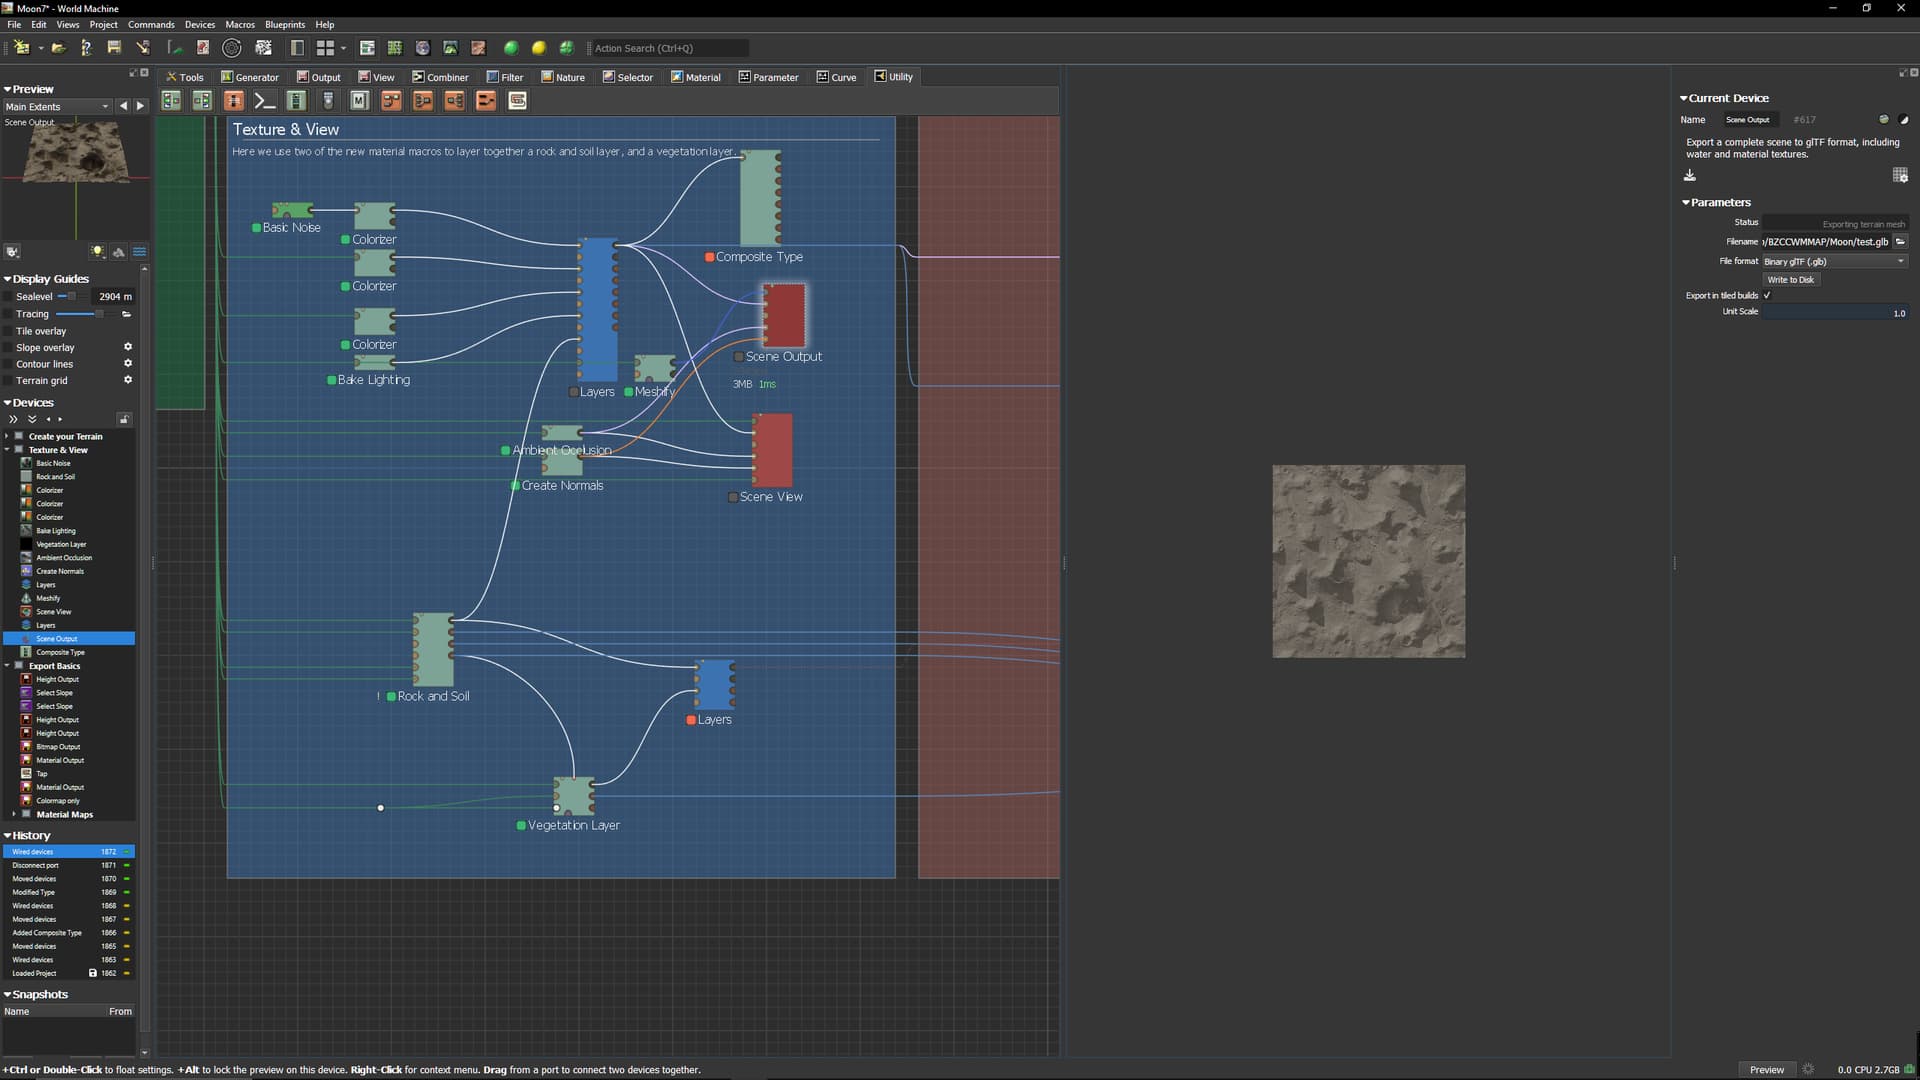
The Scene Output is for exporting an entire scene into one packaged 3D object. If you want to export a 2D colormap just use material output or bitmap output for that particular channel.
In Scene Export AO and Colormap are Combined in a much nice way
Combine AO and Colormap with multiply is not the same
As Stephen said, Scene Output bundles textures and mesh as one GLTF file. Some 3D software can open that file and allow you to save individual textures, but they are discrete Diffuse, Height, Roughness, AO and Normals, so the “blended” appearance you like is not reflected in the actual maps. In my own work, I would render the GLTF model in Blender (or Daz Studio if that’s what I was using for a scene) and do a top-down, orthographic render matching the exact dimensions of the terrain. The trick is to use ambient light only for the render to eliminate shadows, making sure that the light intensity is just enough to get the full color (neither too bright or dim) with the camera positioned to fill a square view exactly. This is a bit labor intensive, but if the shader is set up right, the blending of Diffuse and AO should give you what you want. It might be simpler to just play with different blending modes in multiple layers (Combiners chained together using small settings using different blend modes) to build up something that matches the look you were getting before in Scene or Overlay View. You can send me the .tmd and I’ll see if I can work it out for you if this is something you absolutely need but don’t have a lot of time to figure out on your own. Gratis. Just here to help if you need it.
Oh, I should have said you should save a top down mage with light and shadow active, then again with light and shadow off to show it they way you like (how you see it originally, then how the combined texture looks without lighting - pure diffuse) That can be used to “calibrate” adjustments made to produce the texture the way you like it.
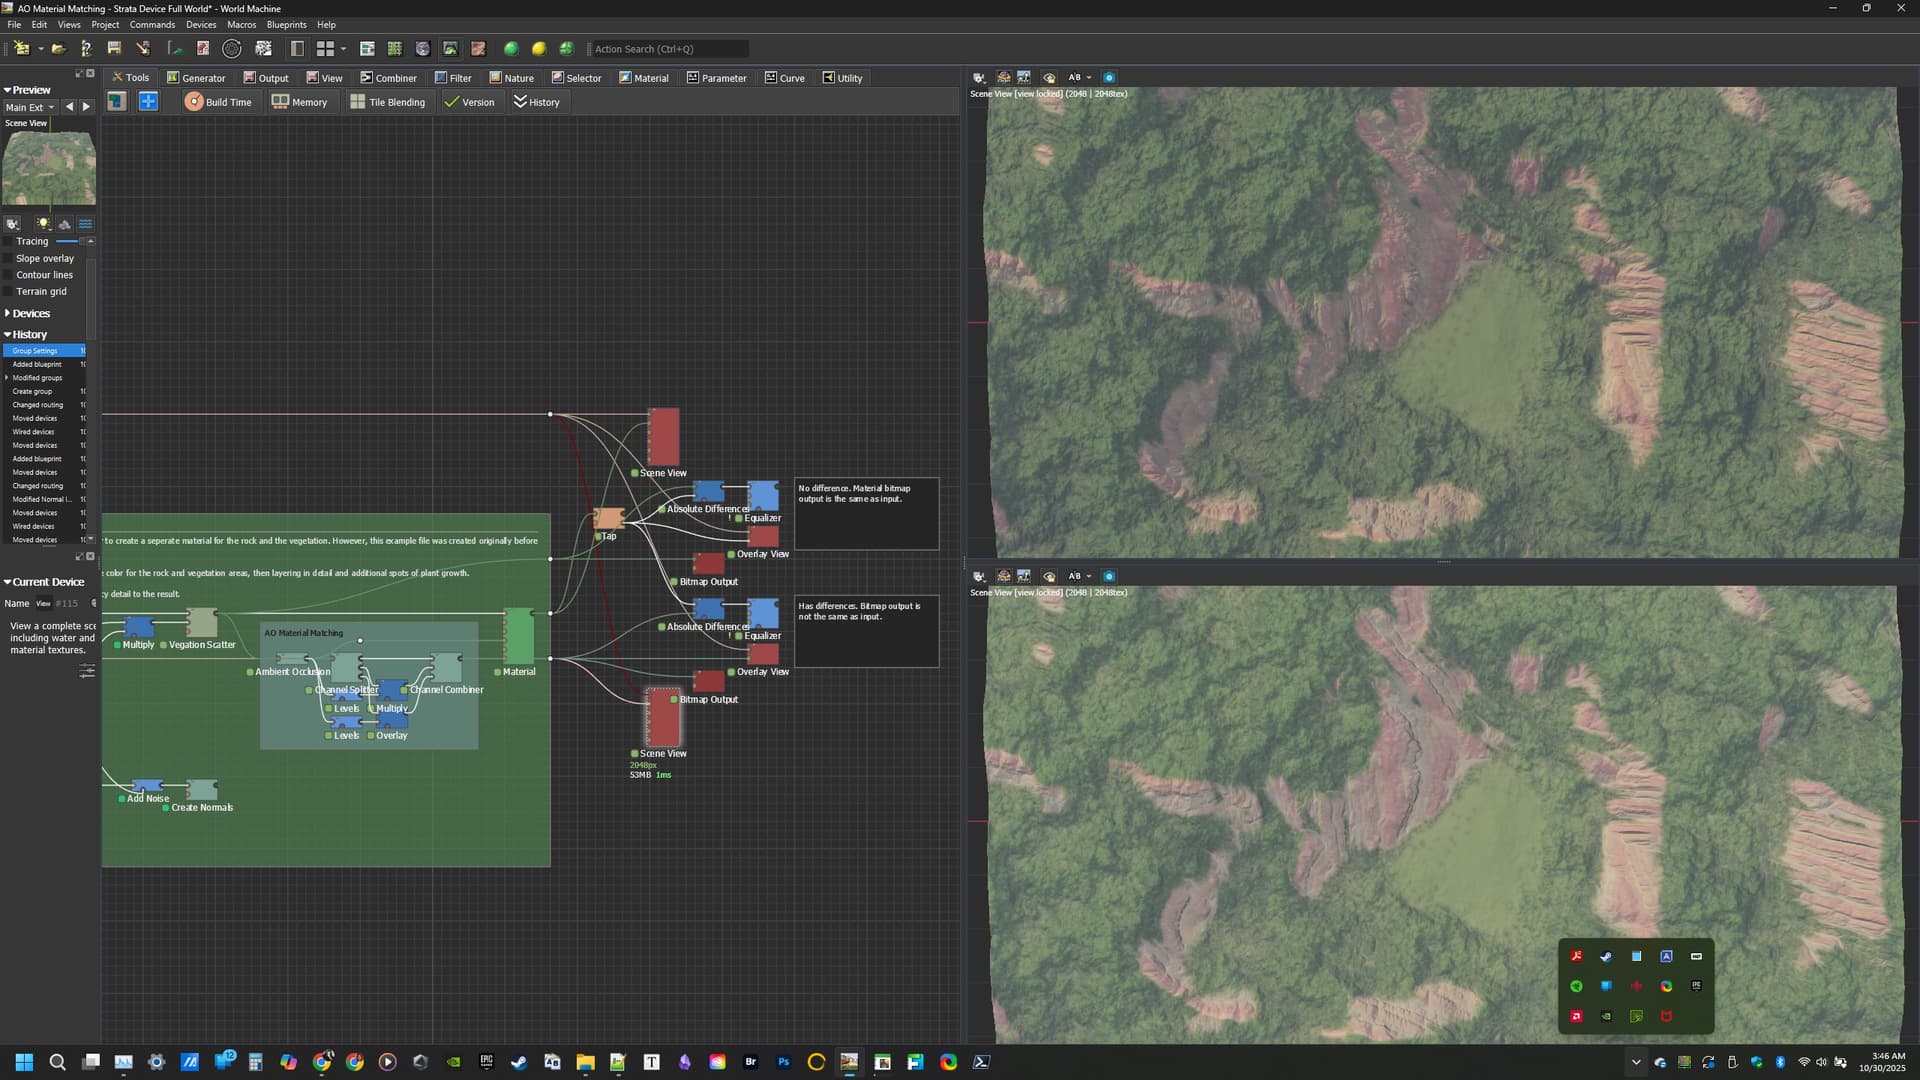
@Hotshot- I took some time to put together an example for you. The process I used was to set up an example world with an exaggerated AO, opened two views to use for matching, turned off lights and detached everything from the Material Device but the Bitmap and AO, attached a splitter in HCL (HSB will also work) and then used Levels to adjust the AO and then used Combiners to hand-tune the Chroma (with Multiply to shift colors down towards the red end of the spectrum) and Luminosity (Overlay works well with the AO contrast diminished but you might get good results by raising the low value to Multiply the adjusted AO with Luminosity). To see the actual settings, check the attached .tmd file.
AO Material Matching - Strata Device Full World.tmd (334.4 KB)
A quick explanation for things not looking right with AO multiplied or overlayed on the diffuse is because colors become less saturated in shadows (and will also be changed by the color of your ambient light, i.e. blue sky) and areas with light hitting the surface will be fully saturated. A 3D app will use an AO map to make those adjustments in the render, while a render engine that does not use AO maps either depends on having it baked into the Diffuse, with those adjustments made in the asset creation, or the 3D app does ALL of the AO in the renderer using an Albedo texture with NO lighting data baked in.