I have been working with world machine for quite a while now and a feature that I keep missing is some sort of memory node. due to the sheer size and detail of the projects I like to work on I often only build once per session or sometimes even less. that results in my entire network being rebuild every time, including the erosion nodes which can take up to an hour each. even tough those nodes haven’t changed in the last week worth of editing.
Could you add a node, or add this function to the checkpoint which read like they can already do this. which saves its inputs to the disk, either in the project file or in some separate file next to it. After which building causes the system to ignore the nodes that input on the memory node unless a change has been detected or if that is too difficult without rebuilding those nodes, untill the user forces the memory node to clear its cash. This state should be maintained between sessions!
A feature like this would be able to massively speed up the last part of my workflow where im making minor tweeks to biomes or even single mountains without touching any of the the rest of the map but i still have to wait once per session atleast for the entire thing to be build.
I found the session saves after typing this out, but after some testing with partial builds, it doesn’t save the final quality in the same way world machine does in between bakes. At least it didn’t work for me. The library workaround I found in other places was directly followed by people complaining about how much of a hassle it was; hence im asking for a node that can do it off the shelve.
I might look into building a macro for it, but as far as i can tell that wouldnt solve the issues as it cant turn off nodes behind it so the problem would presist.
Then, whenever you do want to change something upstream, for example, moving that mountain ever so slightly to the north, you enable the upstream devices, again using the D key, export the library, disable them again, refresh the Library Input device, and go on with business as usual!
Yes, this is not the ideal solution, and having it all build in with the Checkpoint device is much preferred, but for now I think this is the most viable workaround.
Here’s my method of splitting projects to make complex workload manageable, using disk caching. May help with your particular case. I’m outlining a fixed resolution, single tile workflow here.
Tutorial for optimizing workloads using disk caches, using “Library I/O” nodes:
First things first, create a project folder where you’re going to save all your production data. Easier to name and save your project first (with final build resolutions etc), so you can set everything using relative paths. Next, plan “stages” for your terrain in advance, for example: Terrain building, material building, etc. (Depends entirely on your own workflow and taste, you can go as granular as you want). Once all that is done, you can start working in stages right away! Here are the steps.
Create your terrain in full. Once done, export it all to a “Library output” node. Set the path to somewhere within your root folder (name it something like “cache 1”, for easier identification). Now connect your terrain, water, and every data mask you want, to the library output (Tip: Skip “selector” based masks like “slope” and “height”, you can recreate that later with just the terrain height). Save your project with a descriptive name. Then build and write to a single library, all the data you want to carry forward to the next stage, that requires rebuilding heavy nodes (like water, erosion data, snow, etc). Make sure you use a single library per stage, makes organization easier. (Tip: You can use a “checkpoint node” to rename your data streams, though be aware of this ONE bug with names)
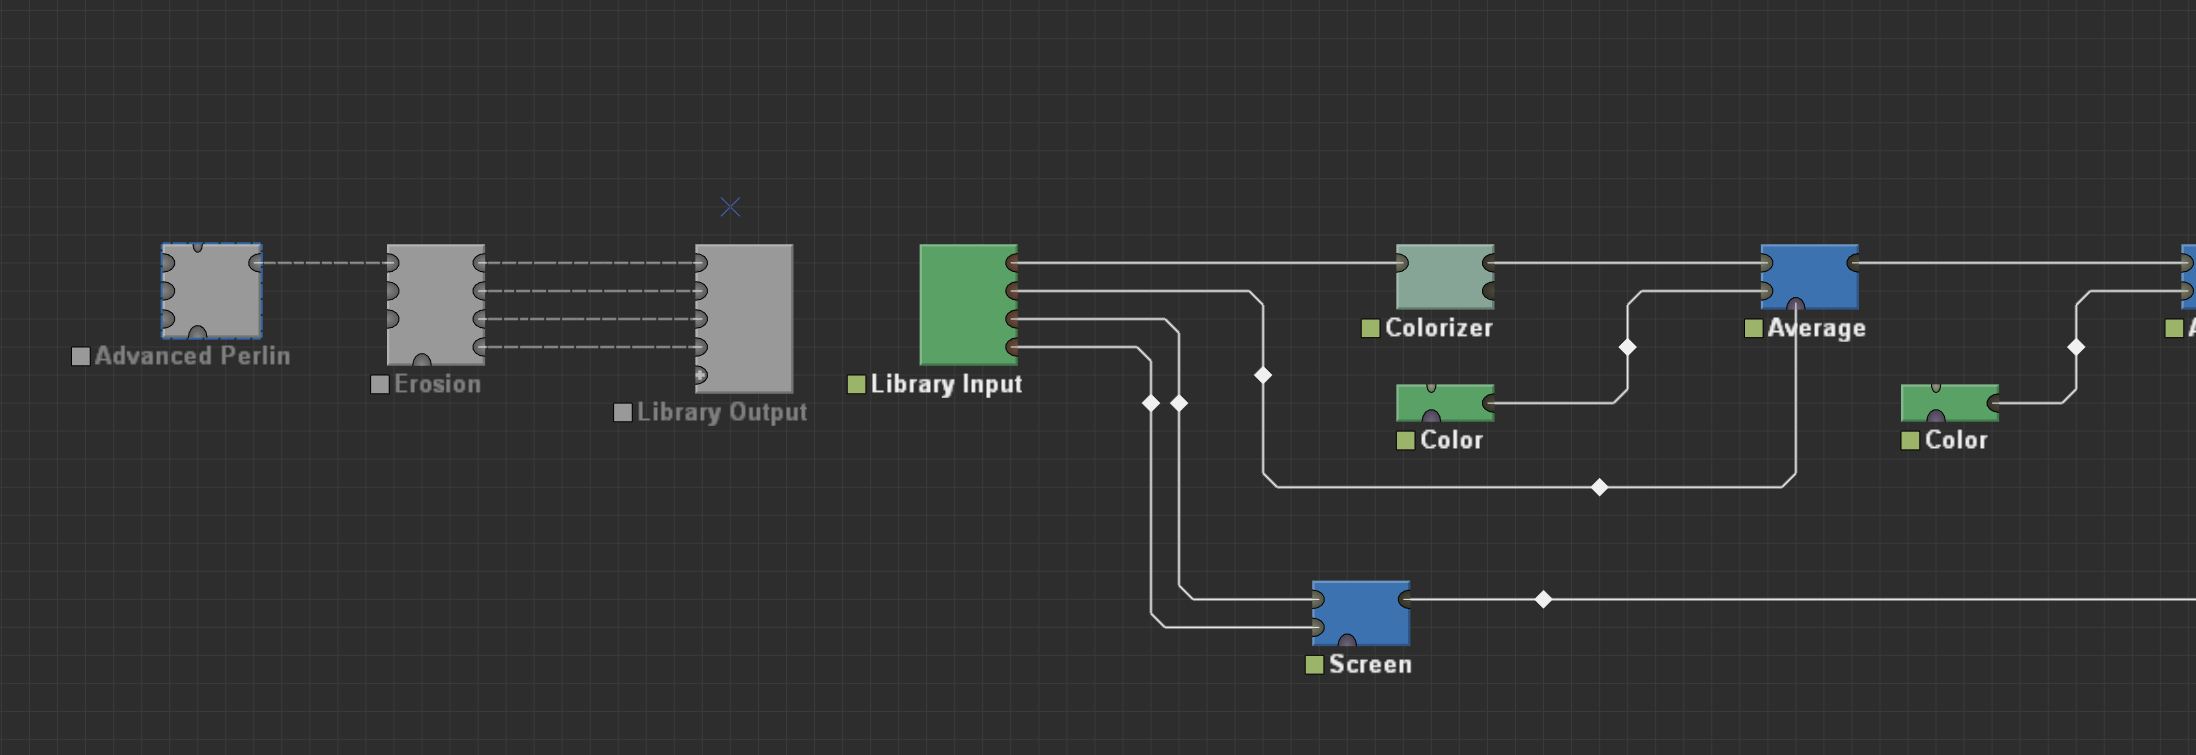
Now create a new project (Tip: To avoid recreating project settings, just copy paste your main terrain project, open and delete all nodes, and save it with a descriptive new name) for your next stage (for example “texturing”). Import your cache using a “library input” node. Make sure you use only this single library file for everything. If you need something from your terrain, only THEN you need to open and edit your terrain project. Otherwise, your data is is already baked at final resolution with this disk dump. Once your texture or material is created in full, you can preview it in final resolution using “scene view” node (Here’s an example, my own work). Once final, you can export another library with your final texturing masks, for the next stage. (Tip: Separate your “exports” into it’s own stage. Makes file format conversions easier).
Do the same with the new project (copy paste projects if needed, treat the libraries as individual built files, fixed resolution and scale). Export your files using appropriate outputs.
Once properly setup, you need to edit and open only the specific stage of your project. And you only need to rebuild the stages downstream (only the stages being affected by the edits you did). (Tip: Adding a serial number to TMDs and TMLs filenames helps with the rebuilding part). This way you can also cut down on memory usage, by saving and loading only the data that you need. Build time is also massively reduced, since you’re only rebuilding the parts that you need.
Few things that help cutting down on setup time for this workflow:
Work at default scale, and extents. Set your final resolution in advance.
Tiling complicates things significantly, use sparingly. And only when absolutely necessary. You of course need to adjust workflow accordingly.
The more granularly you want to split your projects, more time you spend setting up your working project. Also, the libraries themselves take up a lot of storage space, so make sure you’re accounting for that in advance.
Hope that helps, at least until something smoother comes along!