Godot and WM - game development log (maintained-till done)

Made the choice to create 1 realistic action game in Godot with WM. Since documentation and examples are hard to come by, and like to share my learned knowledge, I will keep this thread alive. As others help me, I belief it is the normal thing to do for this community .
Will share WM device info, settings, etc. Creating a game with tools like these World engine, blender is not possible without support from the community.

Always believed in mainly open source in combination with not too expensive tools.

added water to default project that WM opens every time:

---- Godot has just released /heightmap 1.0:

Godot asset library: Terrain3D - Godot Asset Library
Documentation: Terrain3D Documentation — Terrain3D 1.0.0 documentation

as you can see, anything important, I will highlight with: ---- marking it clearly what is important.
Will keep this tread alive, so it will not be closed, hope to finish it. ^^

Project chosen, game on! let’s go! warming up, gathering info.

Modeling: Blender 4.x LTS (most stable, can more easility convert to futire LTS versions)
UV unmapping: Blender, or in 3D coat. 3D coat auto UV mapping is till now good, auto adds
extra PBR maps, each image adds something, color, light info, height info, etc
Painting: Blender with default colors, or PBR materials, 3D coat PBR

3D coat has been a really nice program to paint PBR. I bought the full version. maybe the textura version was more than enough. maybe if my full version updates stop and I need updates, that i will buy only textura to PBR paint. I do not model in 3D coat yet. Only did in Blender.

3D coat is not as powerful and easy as Adobe Substance, but I always had a heart for the under dog. And besides, I like the business mentality of Pilgrim more than Adobe. But most of you know why. Big companies seam to be loosing their heads when they cannot get to earn more $$$.

Also used some Udemy and CGcookie.com courses.

Edit:
laptop with RTX4090 32GB system memory, AMD Ryzen 9 7945HX3D
Running the terrain3D demo, a 3D environment that was already setup. You just Click
It is running 240 FPS. Who needs a RTX5 series.

So, let’s start this World Machine journey.

4 Likes

stoked for this journey and to see you progress :slight_smile: hopefully we, the community, can contribute to that!

4 Likes

== Below is the setup with Godot, it is just a summary + some thoughts of mine. ==
== Links to their original manuals / webpages included ==

  •   	The plus sign means action to do for you.
    

++++ XXXX ++++ This means, might be important

Below I am following this manual:

Software used:
Blender 4.2.10 LTS
Godot 4.4.1
World Machine build 4048 free
Gimp 3.04 (has native OPENEXR, DDS support)
Terrain3D addon 1.0 (use above link to assist you with upgrading it)

++++ Terrain3d 1.0 info ++++

Godot create new project XX
Godot install terrain3D from within Godot asset library, it downloads it
After download go to project >> project settings >> enable terrain3D
Test the terrain
Create a new project >> copy the project XX folder “addons” completely from XX to your new project as it is.
Again goto project settings and enable terrain3D

It is a new prject, there is nothing, we create the main scene:

  • Godot create 3D scene” root node

  • Add node “terrain3D”

  • Click the terrain3D node >> inspector right side >> at “Data directory” >> choose a directory
    Where terrain3D can store it’s data. >> I choose directory name “terrain3d_data_start_terrain”
    (Every single 3D map requires it’s own folder)

  • We now create a files on your harddisk / SSD to save all future materials and or 3d models of terrain3D
    I Create sub folders inside “terrain3D_data_start_terrain”.

    Click arrow down at “Material” >> create sub-folder “material” inside folder “terrain3d_data_start_terrain” >>
    save it

    Click arrow down at “Assets” >> create sub-folder “assets” in folder “terrain3d_data_start_terrain” >> save it

Both main.tres files now are saved , both in their own folder. Be careful not to save the file at the same folder.

Assets = 3D models, also called meshes, can be like trees, cars, houses, etc
Material = Textures to terrain3d uses. Like stone texture, grass texture. It is basicly a layer on top of the 3D model
To color and to give the 3D model visual appearance of real world materials. Like seethrough, reflection
of light, bumpiness giving the texture visual depth, mixing colors, etc

https://www.reddit.com/r/godot/comments/1gtfj04/confused_about_godots_resource_and_tres_files_is/

  • Save the scene as main.tscn

Texture format info
Link: Preparing Textures — Terrain3D 1.0.0 documentation

  • World Machine can export as PNG. But Height image must be converted to OpenEXR format
1 Like

==== Test terrain3D if everything is working ===

We are going to export the terrain3D demo landmass to an EXR file, then import it again in another terrain3D scene.

= Export =

  • Godot, Open in the file system (if not already opened): folder addons/terrain_3d/tools/importer.tscn

  • In the Scene tab, above tab “filesystem” >> click “importer”

Left side screen of inspector a menu will appear, where you can import and export.

  • Click “Export File”

  • Click folder icon at “Data directory”

  • double click folder “demo” > double click folder “data” >> click “Select current folder”

  • Click at “file name out” >> type any name, but end with exr, for example: “height.exr”

  • Click “run export” (click “Output” botton screen to see for console text)

= Re-import =

  • Close (collapse export drop down if you wish ) export

  • Click at “clear terrain” onto the “on” button, this removes the 3D mesh you exported.

  • Click “import” >> click folder icon at “height file name” >> find your file and click it >> click “open”

  • Click “Run import” >> on your right you can see that the demo mesh has been re-imported into the game scene, move your camera to see the complete mesh.

1 Like

Found out what the problem is. I am using a free version, the maximum output pixels is 1025 by 1025. Need to enable “scale” in Terrain3D import. Set it to something like 500.

Then you will see your model.

I just saved World Machine Tutorial11 as a project, exported everything. This is my next goal.
To have Tutorial 11 inside Godot working as much as I can.

==== World Machine export how to ====

  • click “Open example world” (green arrow) >> choose 11
  • Click “Export asset files” (red arrow)

Importing it in Terrain3D.

  • although Terrain3D suggests that PNG
  • set scale to 500

World Machine 3D view:

1 Like

Decided to make an purchase of World Machine. so, from now on I will go for a reasonable quality. Starting with 4096 pixels. Build times are extremely fast. Does not matter if I use tiles or not.

Default world set to 4096 px
Output textures set to PNG 16 bit
Heightmap openEXR set to 32 bit

Settings
Maximum work threads 30 cores out of 32 (default was 2 I belief)
AMD accelerated parallel processing (alternative not chosen is OpenCLon12)
Tiles at a time: 16 (suggestion of WM to be 50% of total core count)
devices at a time: changed to 2 (default 1)

Build time was about 8 seconds? Give or take.

2 Likes

Edit: How to export from World engine

In WM you attach the devices for that:

Click on each device to look / change settings for output. And export one thing at a time.
To export everything at the same time, press the button with the yellow arrow:

Imported the full 32 bit Heightmap into Blender. It is another tutorial map from World Machine. This one has more pronounced mountains, vegetation and water rivers.
How? link: https://www.youtube.com/watch?v=AQG-cnmpvyo

Trying with modifiers Subdivide and displace. Subdivide gives the mesh more geometry. Geometry as in more faces, edges and vertices. It is like 2 points, that line in between the points can neve ever bend, to bend you need to add vertices (points) and in between shorter edges (lines). With more vertices, you can shape the line more into a bend or even a full circle. The modifier displace works like a protection shield to keep the geometry in place, so it does not change. I read that some people use 2 subdivide modifiers and lastly have the displace. That creates a very dense mesh able to capture the finest details.

A dense mesh comes at a price. Below picture has 4.2 million faces. Depending on your computer hardware, it can only process an total amount of faces at the same time, without crashing. So please, do save your work before you do any major operation. Blender or any software can crash.

My import is almost 8 blender units (counting the blocks):

So the scale is wrong. If I were to export this to an game engine, it would be really tiny.
I have a few things to solve:

  1. scale and amount of faces
  2. Efficiency in game engine, how?
  3. side question: if I were to make a flying game (dragon), and combination with a first person hack and slash, how would I need to solve this geometry and texture thing. It changes as you approach the mesh closer and closer.
  4. All the details (water, vegetation, textures, etc) created by World Machine, till which scale can I keep using it? I wonder because, the textures used now are 4K, but if you scale it by 5000 times for example, that texture is not going to give you any details. It is like a family picture at your desk, scale it up by 5000 times and every pixel is going to be huge.

Brainstorm to answers without final answers:

  1. to get a level of detail required depends on the type of game I want to make. Is it a flight simulator? Is it a first person RPG game? Depending on the answer, I have to change the scale accordingly.

  2. Mesh 3D inside a game is not the most efficient I read, game engines use heightmaps to process heightmaps more efficient. Terrain3D uses that technology, as most game engines like unity or Unreal.

  3. I do not want to paint in terrain3D or any other game engine or game engine addon. I like to separate that. I do not want to use only one tool for everything, but like to have the best tool for 1 thing only. This might sound counter intuitive. You cannot be good at everything. Humanly can, but for a program to do everything good required to much maintenance and a huge team. That drives the cost up. That is perhaps one of the reasons commercial biggest game engines are not cheap.

  4. need to experiment.

1 Like

As a small test, I quickly paint it a bit, I import it into Godot, add a simple player, add basic movement:

Subdivide both at 11, and apply. Then in /blender click the land, go to edit mode.

  • Scale it 1000 times: S, 500, ENTER-keyboard button

Change the camera clipping, otherwise you will see nothing beyond 1000 meters.
in the 3D viewport, press N, go to tab “view” and change value “clip end”
I change it to 10000. Link: https://www.youtube.com/watch?v=6vT_10gEFs8

I decimate the amount of faces as much as I can without changing the geometry.
(there are use cases for high face count, but I am not going for best realistic game. My laptop cannot handle that. My software cannot also. Zbrush / 3D coat can handle high amount of faces without crashing I hear, but Zbrush does cost more. 3D coat I have but did not start to learn yet. )

To reduce the amount of faces:

  • select land
  • go to edit mode
  • press X
  • click “limited resolve” (be aware this can crash your system, takes about 45 minutes to simplify a 4.2 million faced object with my hardware. Maybe a good idea to select smaller areas. And do in parts.) Below is a view of the vertexes and edges after this process:

Limited resolve just tries to create big faces and tries to keep the curves and angles as much it can. It will dramatically reduce the amount of faces. All automatic. To have more quads or triangles is another discussion. I have to do more research on that myself.

The more faces the more a GPU must calculate. High quality renders always have 2 sets of 3D models. High face count to bake info into it, so you get best lighting, etc data. After baking, that is then transferred to the lower poly , optimised mesh for rendering. Rendering is not only faster, but the visual quality is at it’s best. Nowadays you hear that some games are poorly optimised, because it requires extra steps to execute.

(Not sure if limited resolve is useful, I only used decimate with value 0.03, to have 150K faces.
I used many tools to change the face count, somewhere something went wrong, and the file became corrupted. But luckily I got an older project file. retried.)

1 Like

We need to create an UV first. UV is an 2D map of the 3D model. Now I let Blender do it automatically for me, in some cases you will have to do this manually. For this quick demonstration, auto is good enough.

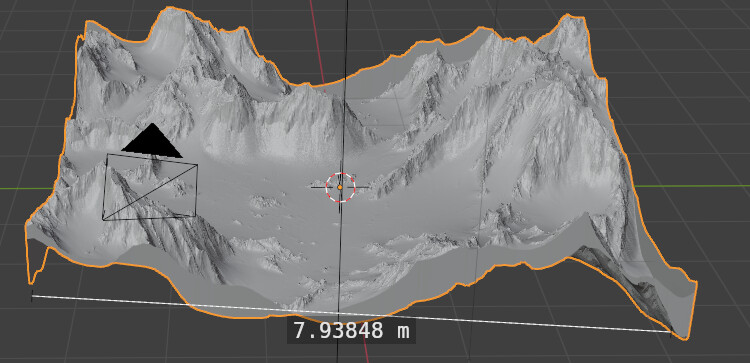
  • apply subdivide modifier
  • apply displacement modifier
    (we cannot UV unwrap if we do not apply)

UV unwrap (auto) how to:

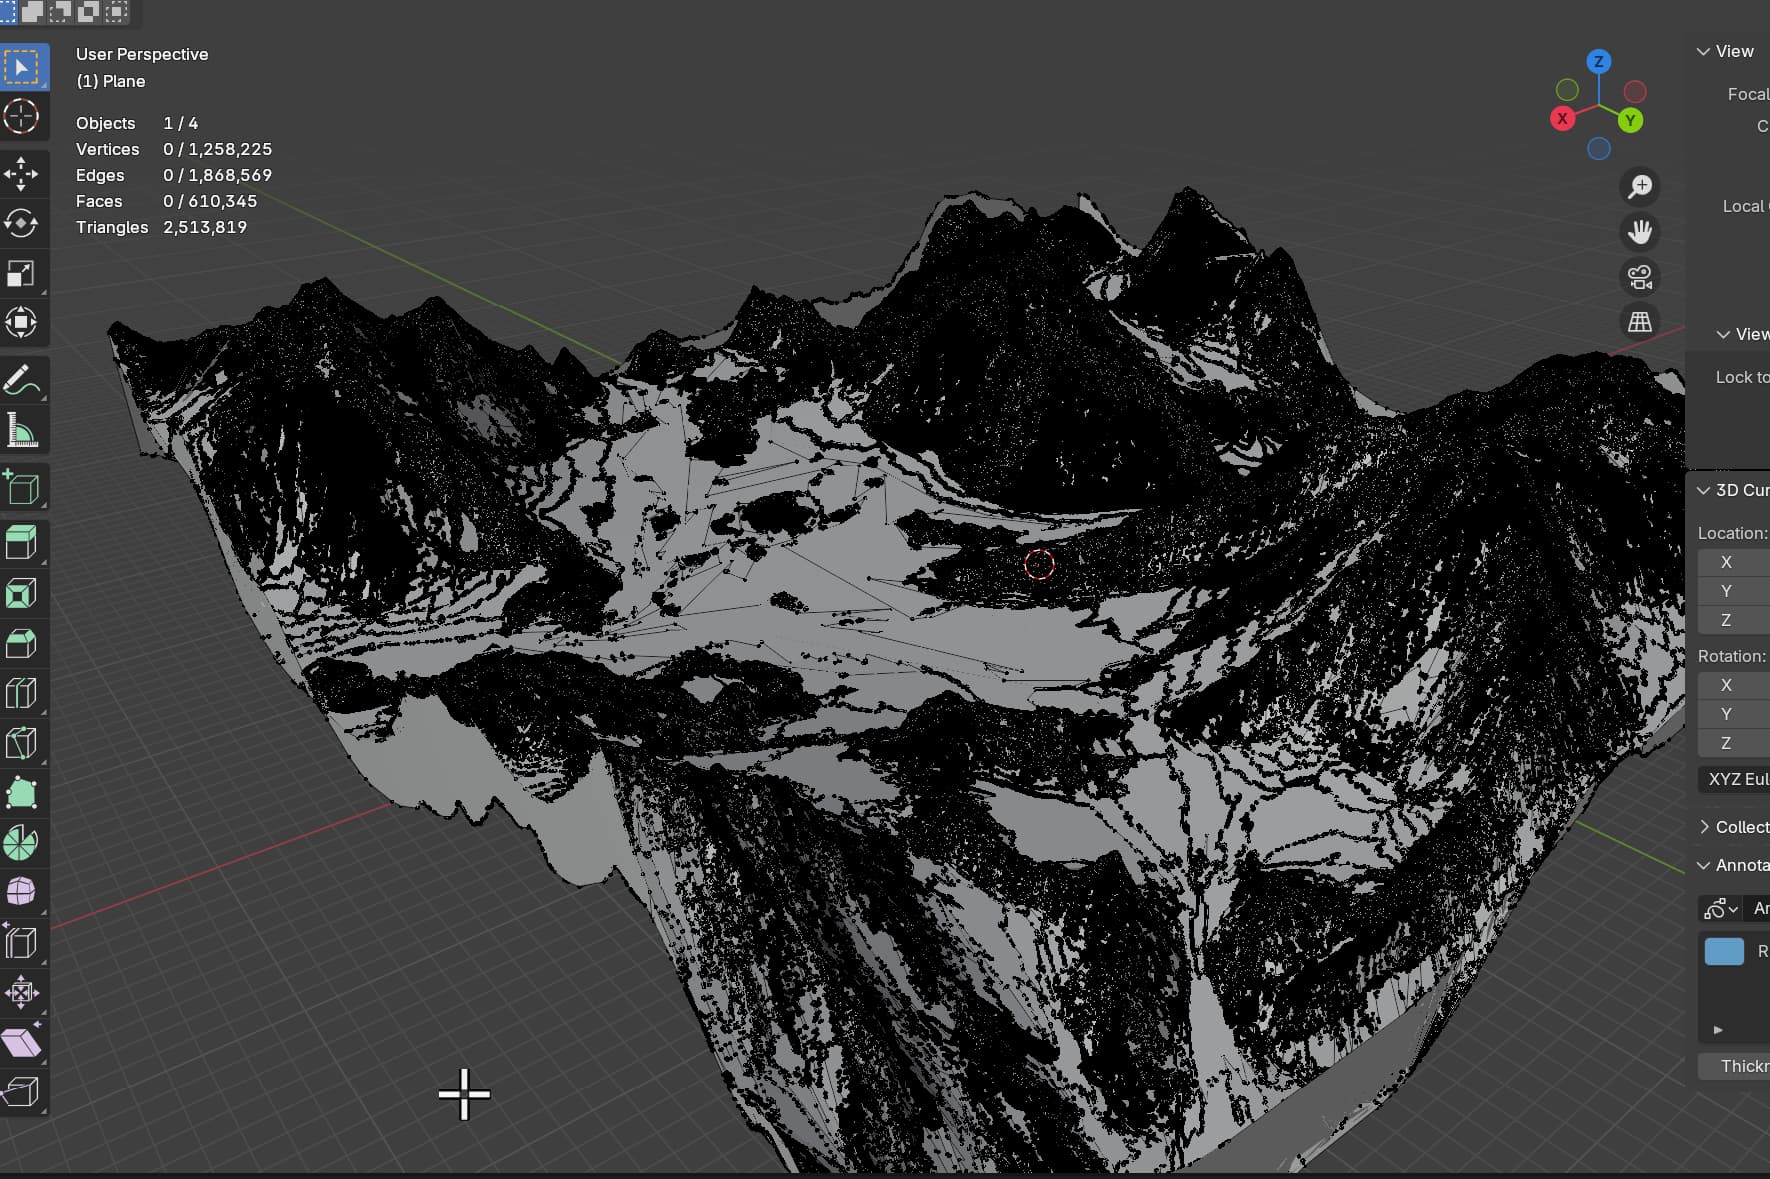
you can have a quick look if the UV faces are stretched or not.

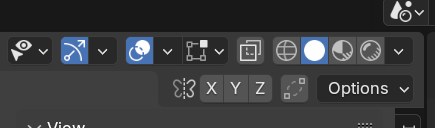
  • Go to “show overlays” >> enable option “UV stretch”
    Normal colour is darker blue. Any other colour means it is more or less stretched, this stretches your texture you paint upon it as well. Making it unrealistic to see such deformations upon your 3D model. Zoom in or out with mouse wheel to see the UV area as you mouse over your UV map and want to see smaller details. If there are lots of stretching, you need to solve that. Fital step you must do, unless that is on purpose, and you go for “special effects.”

After unwrap, we can paint in Blender:

  • close the UV window: mouse into the top corner of your 3D view, if you see a target sight, click and drag towards the UV window to remove it, until you see a arrow , then release mouse button.

To change the 3D view for painting:


change it to this:

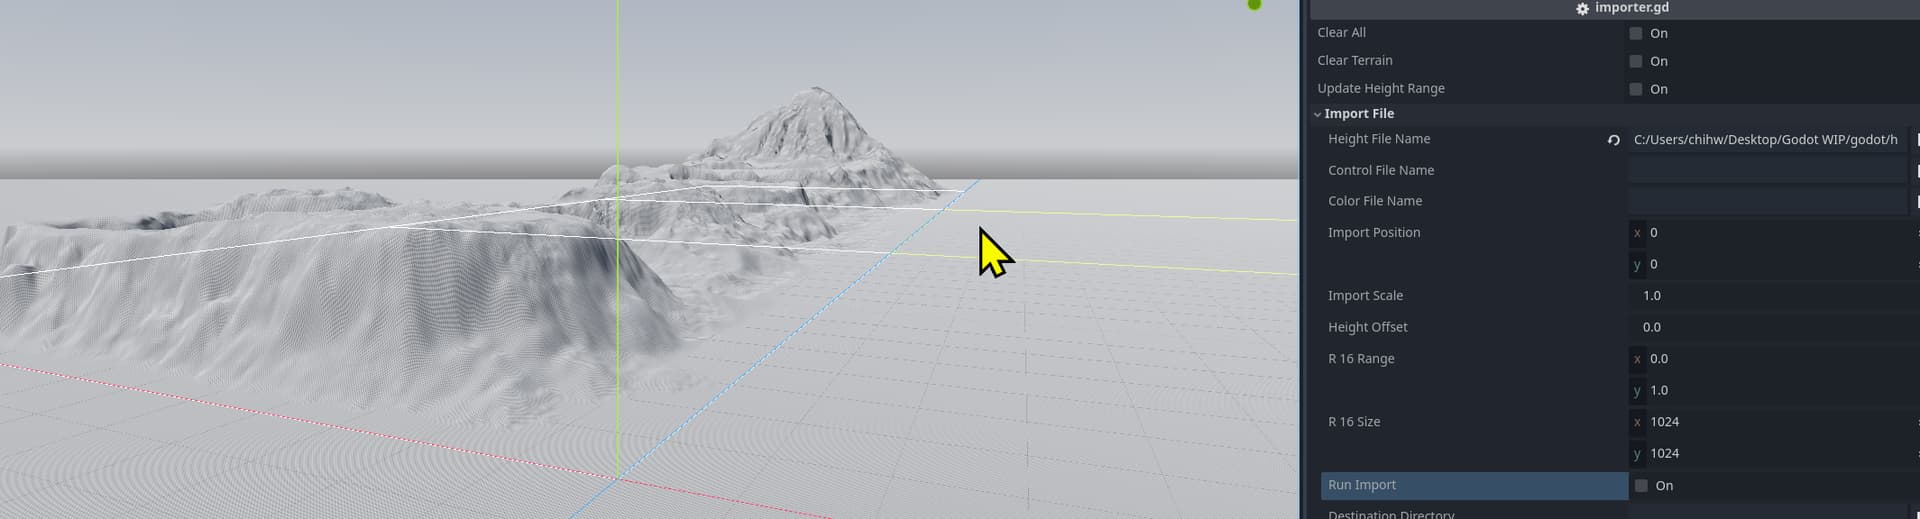
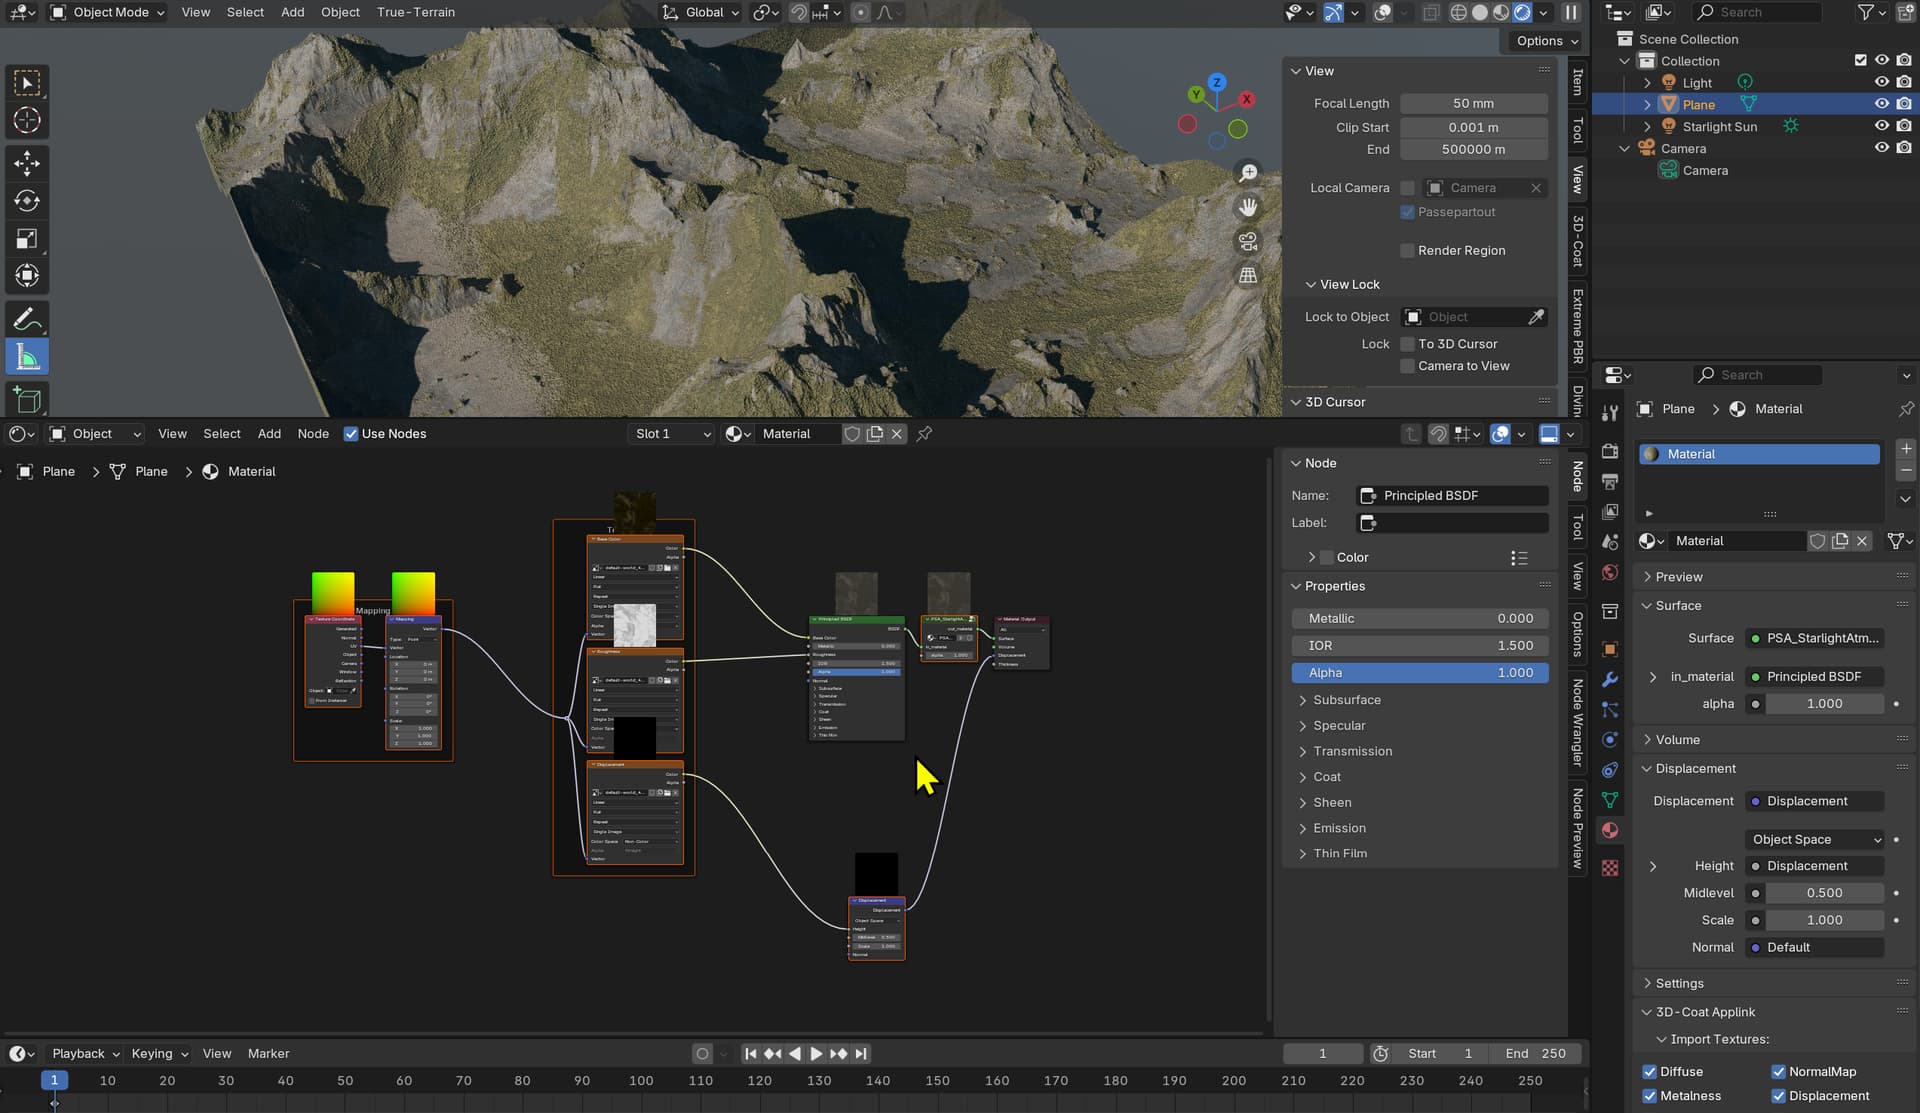
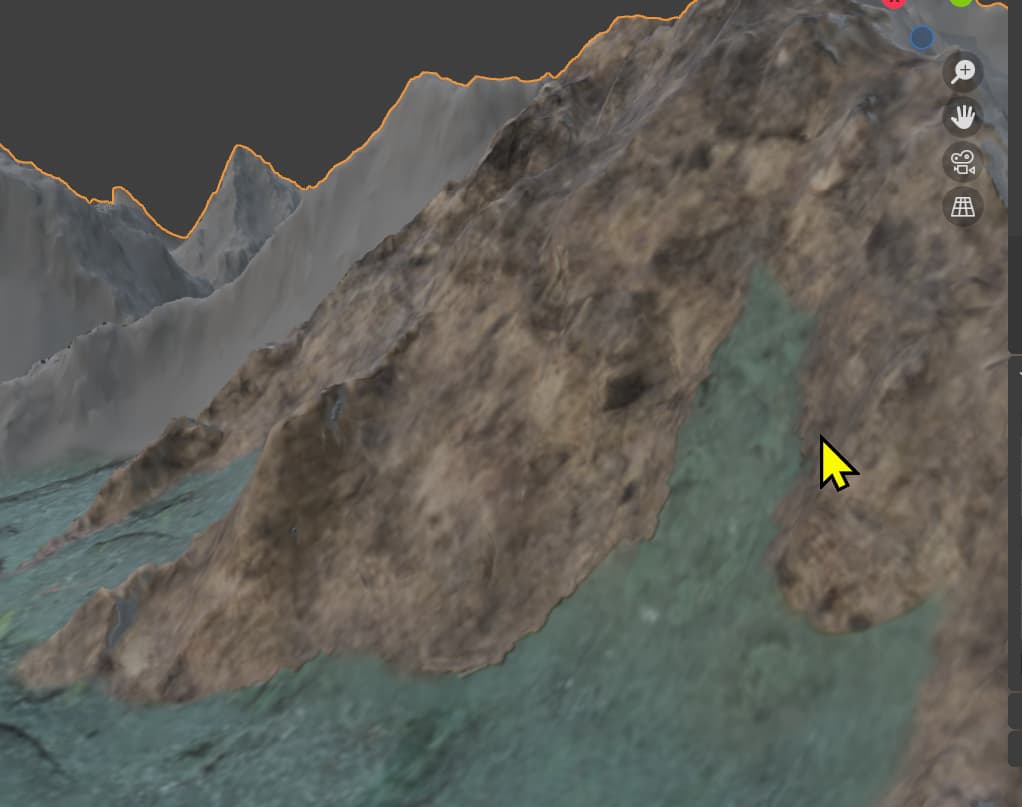
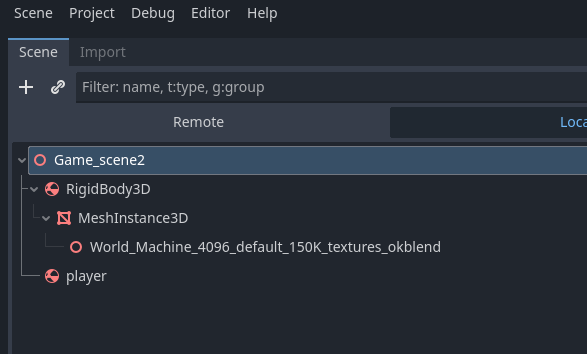
I see that I still am using the materials from World machine:

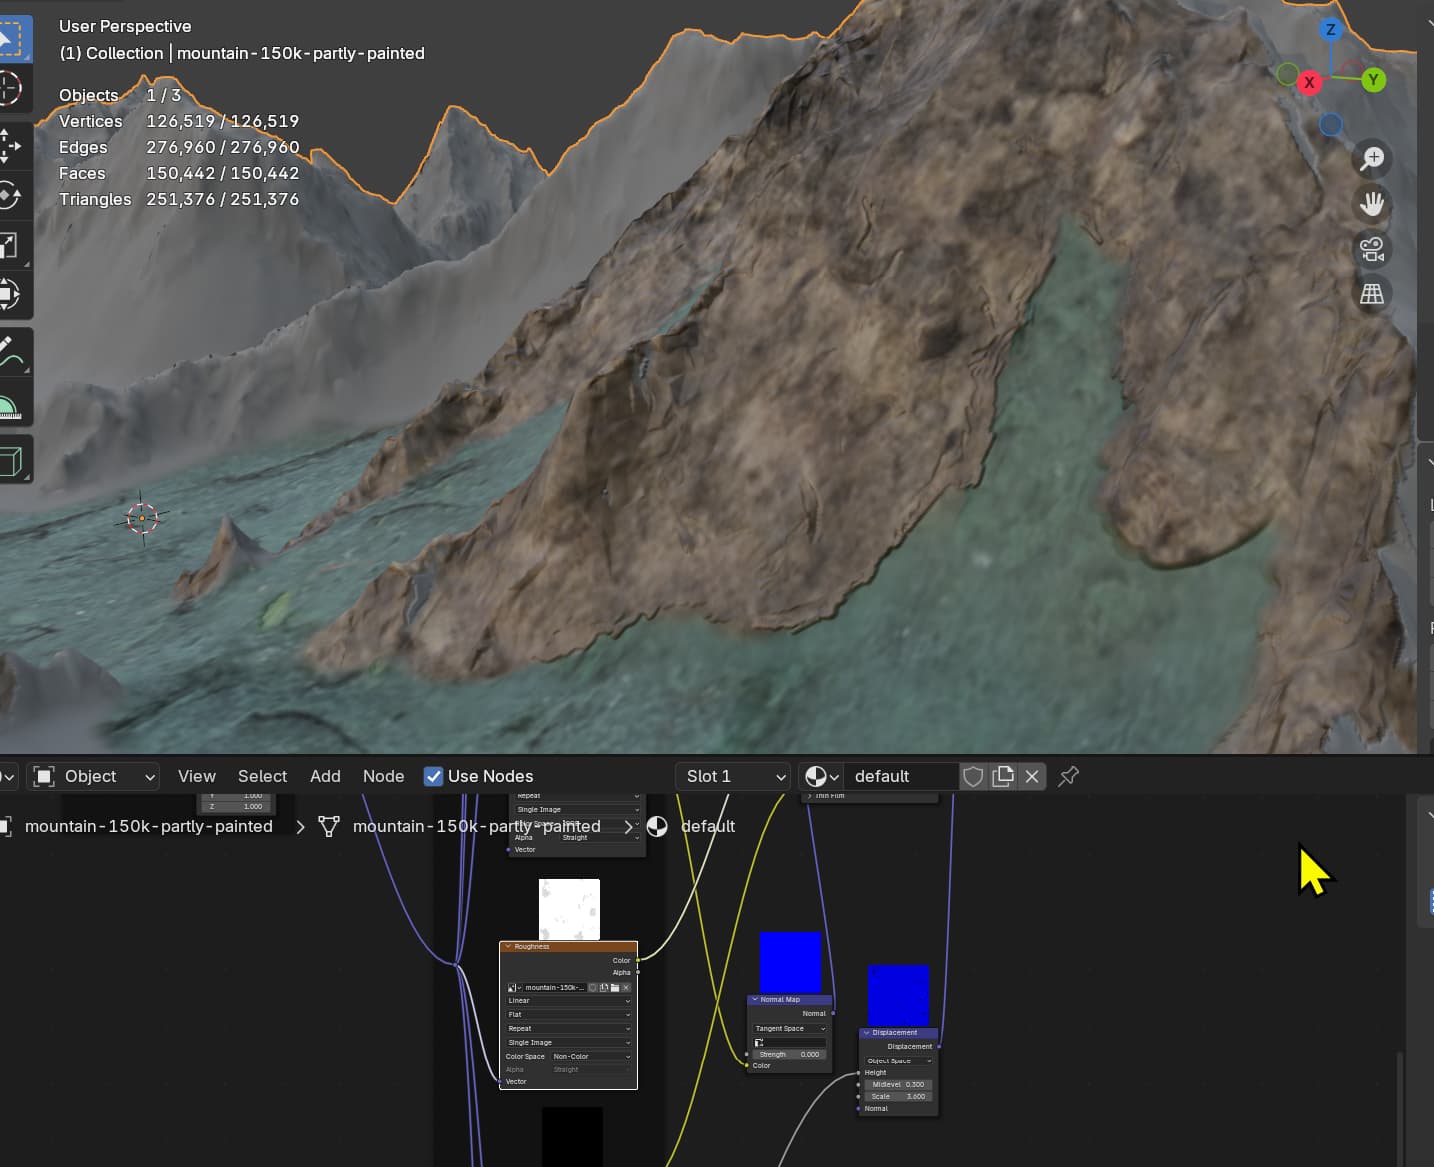
I will remove the textures and attach 1 blank texture file to my model, the displacement file
I will keep.


Delete texture node, and removed the other texture. Without textures, the model becomes pink, signalling there is no colour texture at all:

Just click "new, to add a blank texture file. Close the shader window.

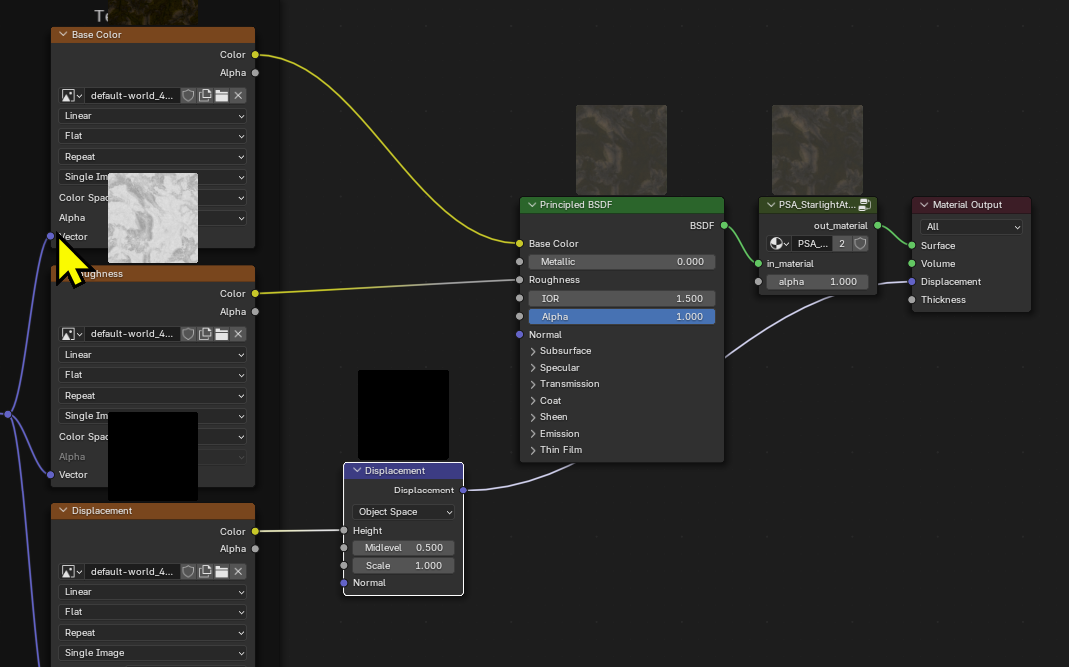
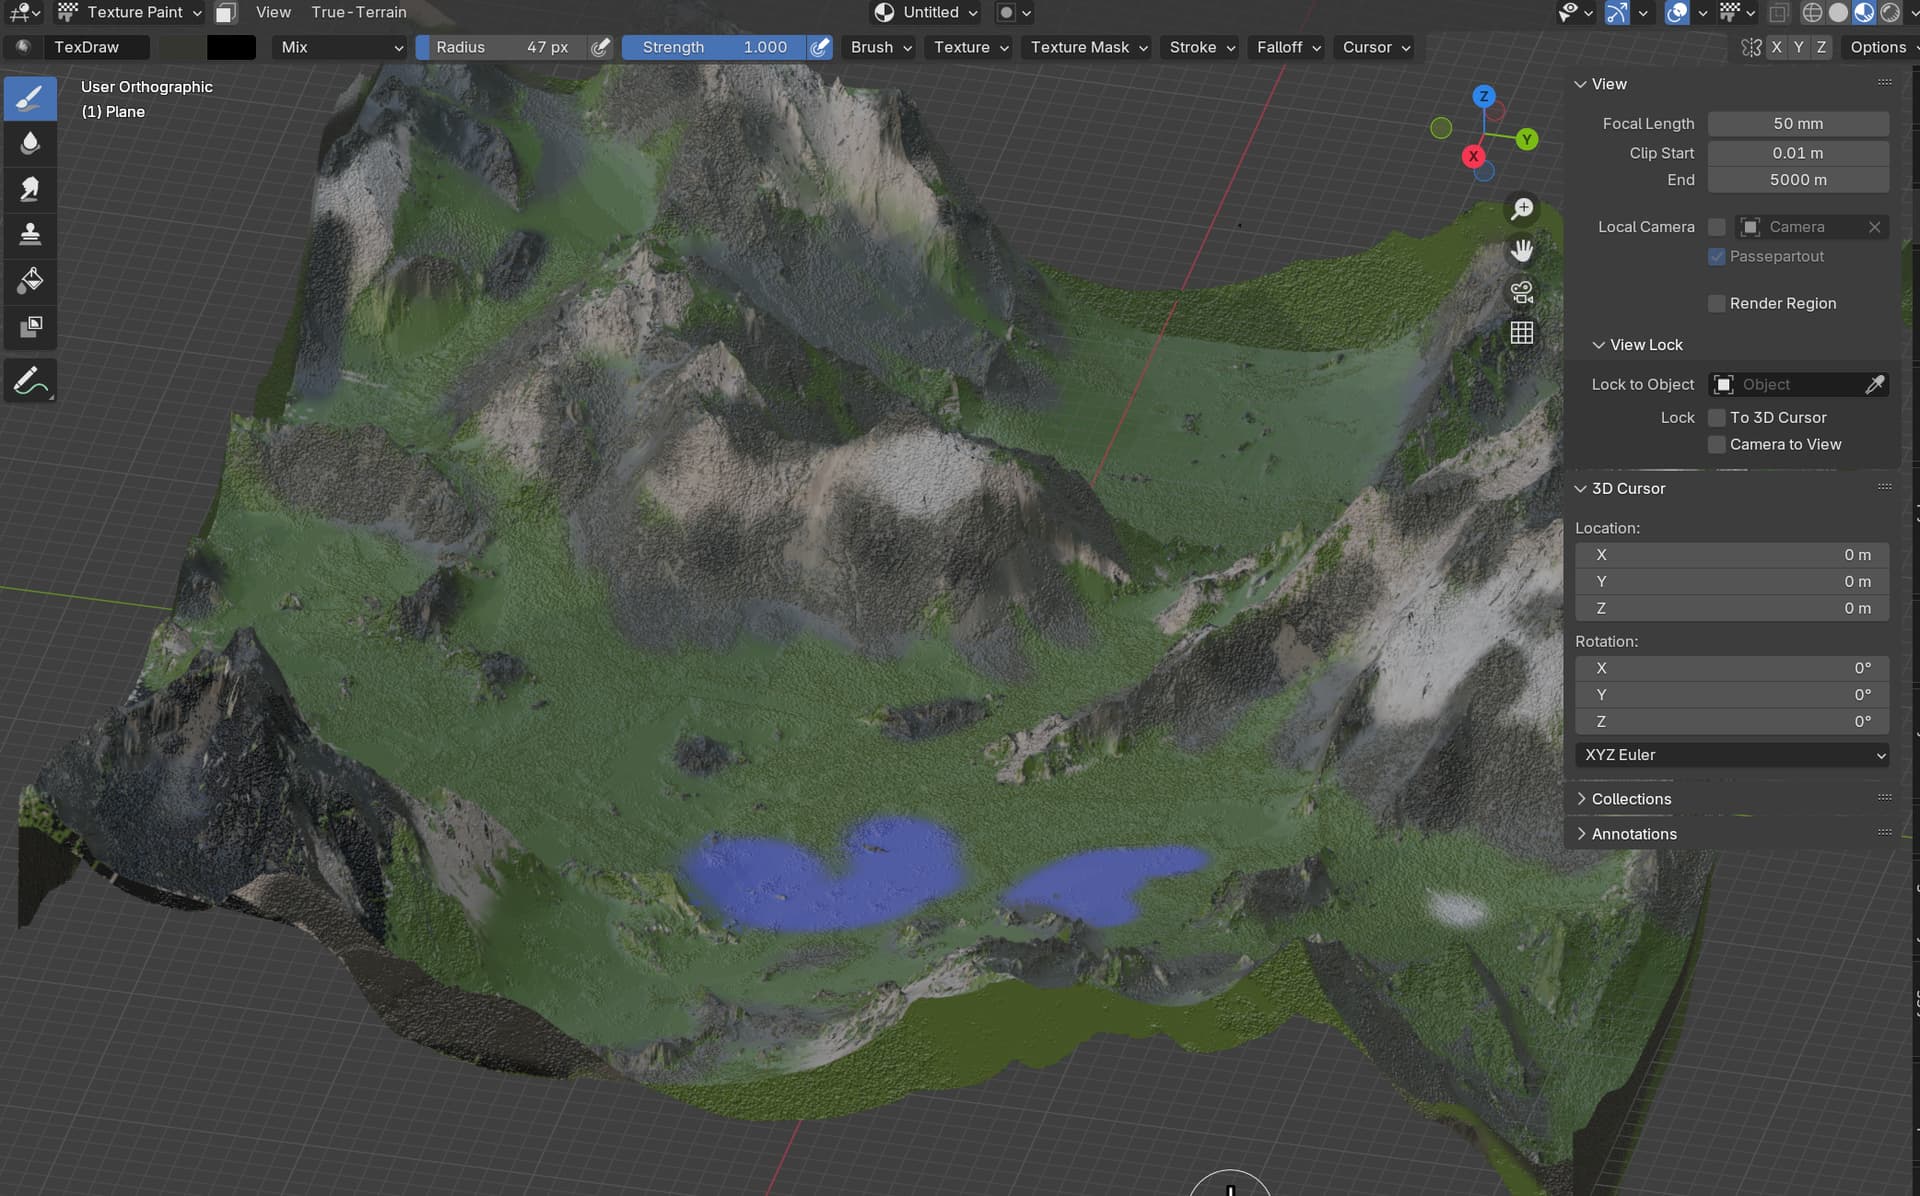
  • Go to menu “texture Paint”

The object is completely white or black, depending on your setting, we can give it a ground colour like light grey, or light green. What you like. It helps you to see what is done or not done, and prevents you to paint every inch yourselves.

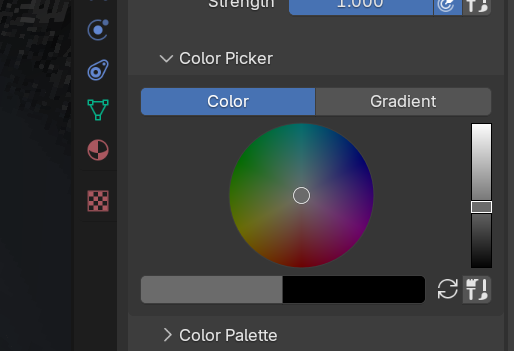
To change the colour of your paint:

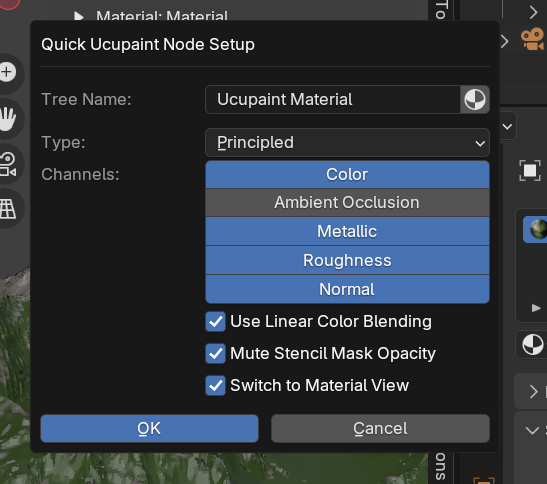
Default Blender drawing brushes and system is very limited. A better one is to use Ucu paint.
It is created by an user and uploaded the addon software towards the Blender repository.
Blender calls that “asset library”. This addon can be installed

Ucupaint install: UCUPAINT

Ucupaint tutorials:

For a free paint program UCU paint, Krita, gimp. They all are good. They just lack some advanced things, causing them to be slower in use compared to the professional software like Adobe Substance , 3D coat Textura (Which I use, it is paid), and others. UCU paint permits you to paint in layers. Not just layers, but the PBR like layers, but by bit, making amazing looks.

PBR?
Link: https://www.youtube.com/watch?v=T2K6WXdifGA

PBR texture programs example:
3D coat and Substance are a few miles ahead, they just paint faster, and you can add special effects faster. Substance painter is one of the best, but lately they have been in the news, ever increasing prices, you basically loose your work if you do not pay. So your Adobe subscription has to go on to retain access to the program ,which means you can use your work you created.
Yes, you can buy the Steam version of Substance, but that has some

Link: https://www.reddit.com/r/Substance3D/comments/1fskgug/steam_version_of_substance_painter_unlicensed/

So, please do some research before you jump , buy and use a program. A companies reputation is way more important. So many big companies falling , one by one. all for the $$$ baby!
Reputation? Who needs it!? (that is what they belief, sadly) The people and companies with respect for others shall keep standing.

Hope World Machine, 3D coat will remain sain (my account blocked, joking)

back to UCU paint. It has some real advanced features:

I will not use UCU paint, I just mention it, because it is very good and free.
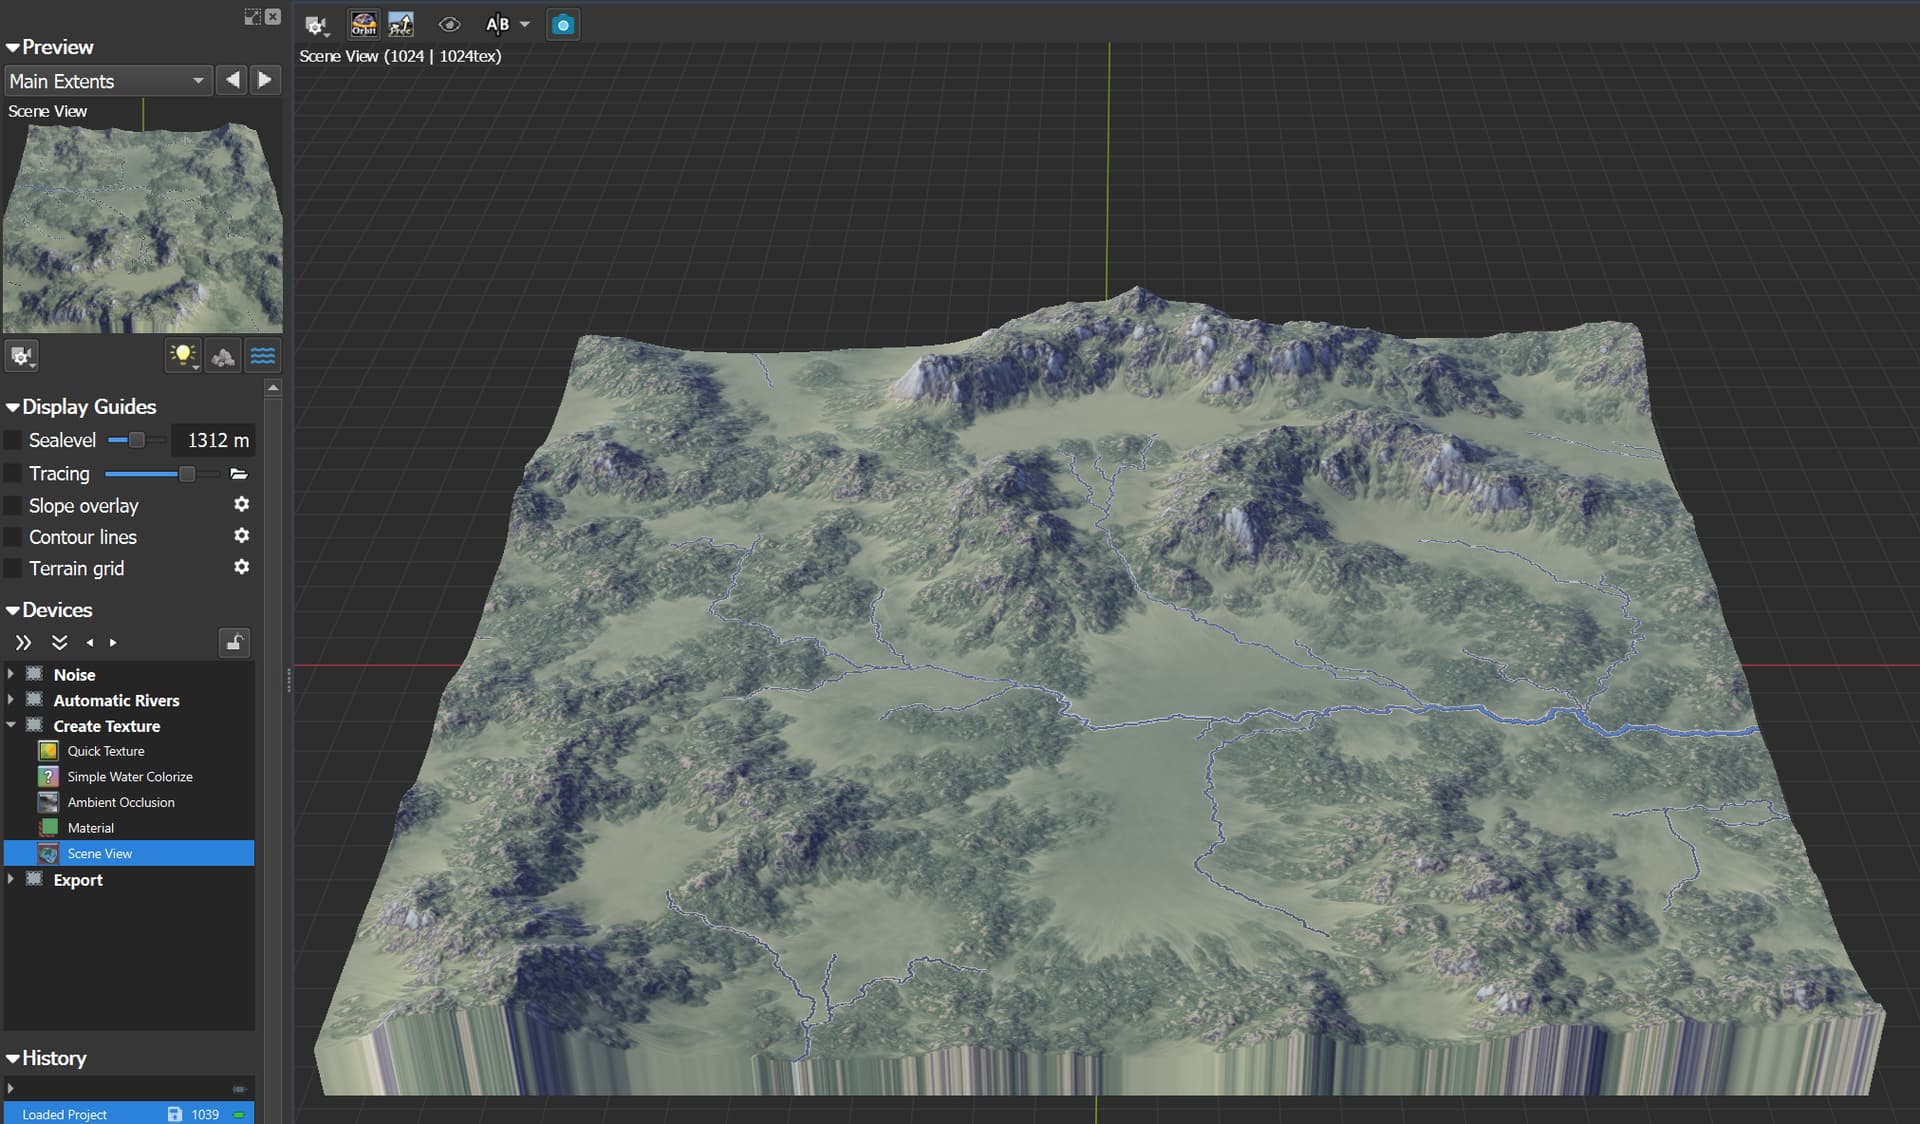
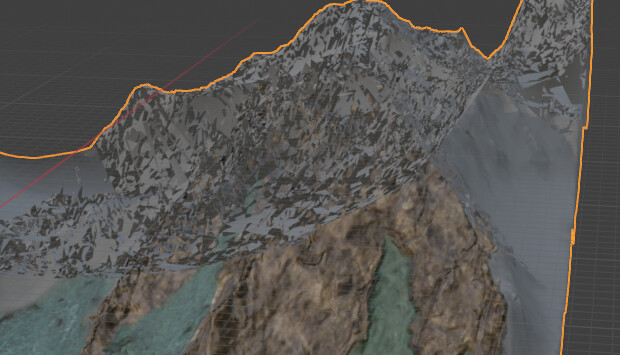
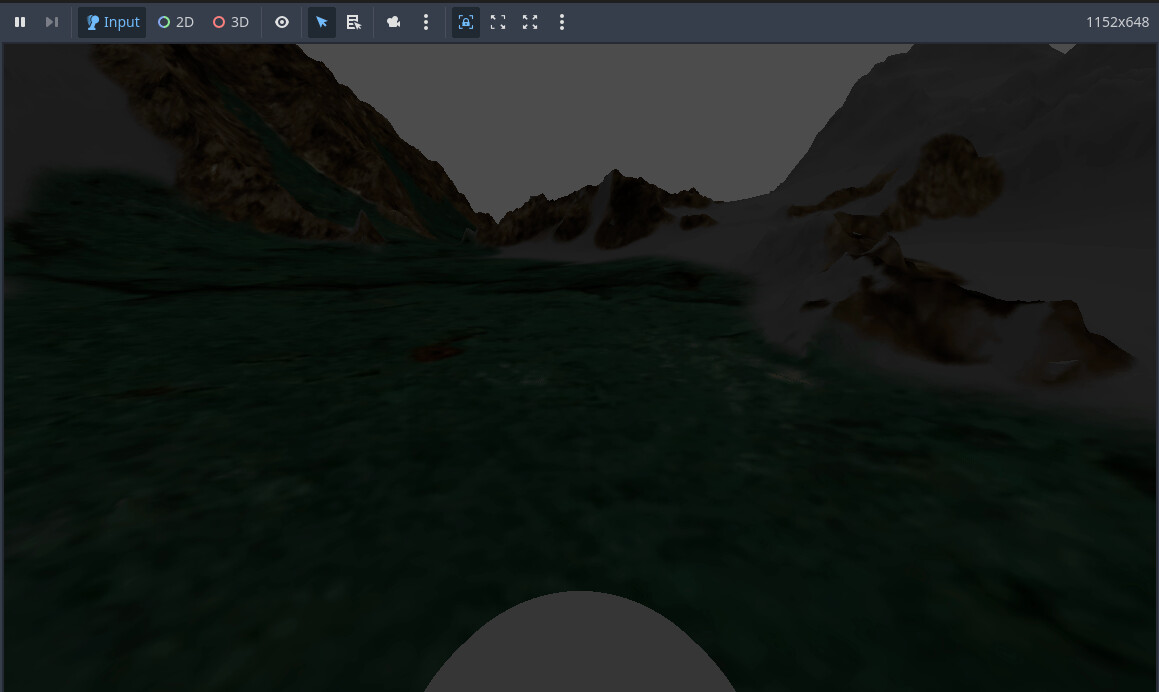
Below is my quick colouring of the mountains, etc with Blender’s “awesome” default paint system. Just making a friendly joke , here. Blender’s strength is not painting, it is modelling, rendering. That is why some companies use Blender to render life like commercials.
Blender is powerful if you know how to use it.

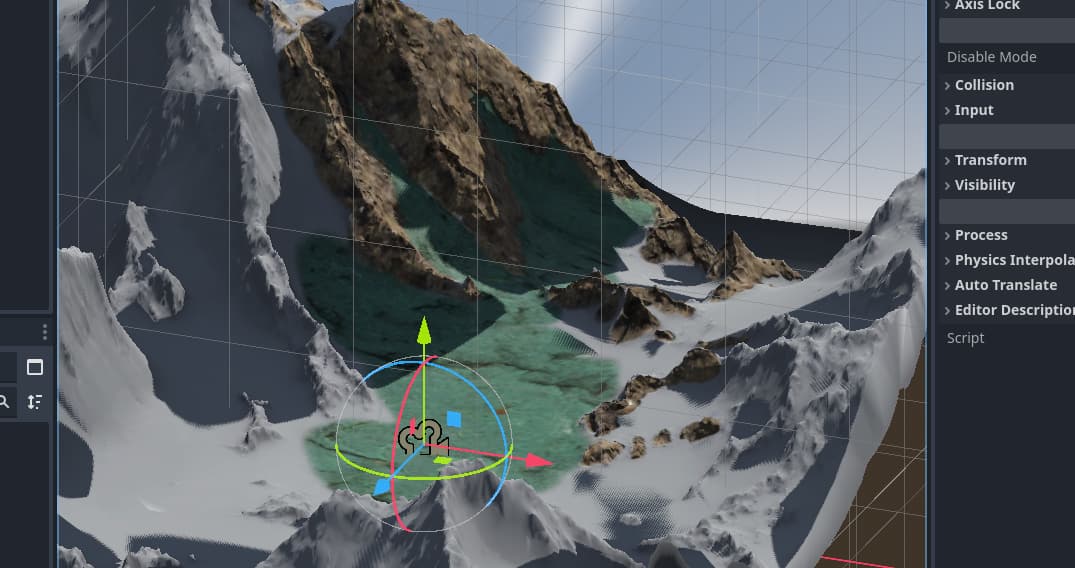
You hear people say Maya!, or another software package, but , hey, you got a few 1000 dollars for just that package? Not me. If you look at what people made with Blender and cheaper software, it is actually you creativity that makes it possible. Not software. Below video shows what a free program can do. It is just up to you, use you creativity. Use it.

Example, Blender conference 2024: https://www.youtube.com/watch?v=auTKRan7oPk


It looks horrible? I think it is an masterwork for 30 seconds work. ^^
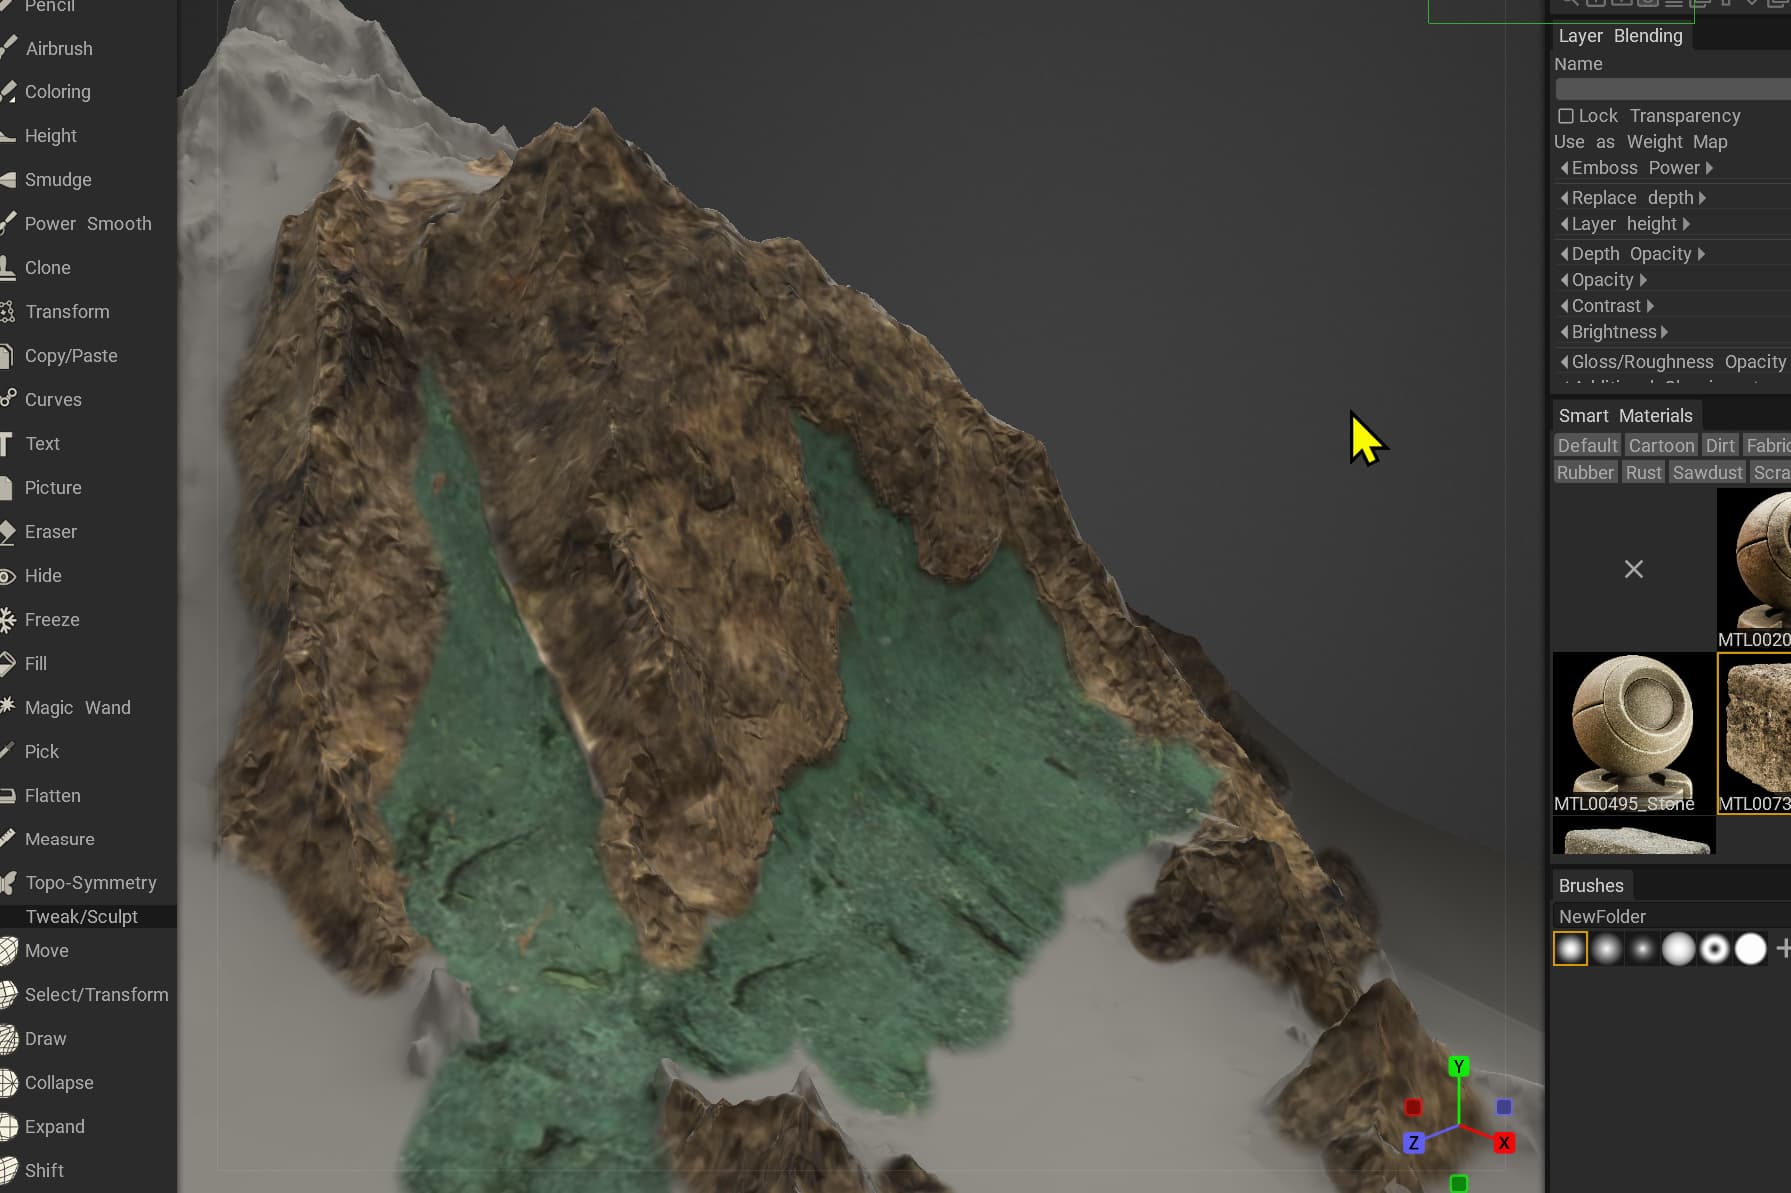
Let me try to paint it in 3D coat. and show you a bit of it’s power. I hope I can.

1 Like

Decimated the face count from a few million back to 70k.
The object is about 8km by 8 km big in blender units.
Without lowering the face count, it was not possible to import the model into 3D coat, maybe lack of System ram, had to close my browser with 20 tabs and Blender.

I export from Blender the mountain range as OBJ and import it in 3D coat.
For that I use the 3D coat/Blender applink. It permits me to send it directly from Blender to 3D coat.

Below is a quick paint. I lack proper colour for grass like texture. So I used wood texture.
Also, the mesh had a glitch, the white part cannot be painted. A glitch I never seen before.

Texture painting with 4096 pixels. I painted from far with a very big brush, I think If I walk through the terrain, it will be very noticeable.

1 Like

2nd try, just some using the basic brush, with some brush size differences:

Here and there I tried to make the rock / grass transition more sharp since rock is never blended, unless it is snow.

2nd import of the mesh, was good. had to apply the transforms. When you scale / rotate in certain blender modes, the changes will influence other tools. Also applied “shade smooth” to make the edges less sharp. Previous was a bit too sharp looking. This is more realistic.
In the original World Machine , above green area is also rock with some green over growth .
That is something I will try on my own time.

Next step is to plant a player character into this map. just to see how it looks like.

+Install the Blender addon: Node wrangler
Link: Node Wrangler - Blender 4.4 Manual

With Node wrangler enabled, you can add the PBR textures almost automatically.
+open a new window in Blender, mouse in one of the 3D corners, till it is a gun sight, Then pull up. New window go to the top left button, click and choose " shade editor"

(use mouse to scroll, increase / decrease viewing size, nodes can be very small)

  • Click on the node " Principled BSDF"
  • CTRL+SHIFT+T
  • a new window opens, SHIFT select all png >> click on blue button, next to Chancel called " Principled Texture setup" And all PBR materials will be added and all nodes connected for you.

Back in Blender it looks a bit different:


Perhaps I can tweak.

Tweaked the Displacement node a bit:

As you can see, PBR material is way better. But to apply it creatively, you need a paint program, not a addon that makes the whole object the same PBR material. Those exist as well. They work remarkably well if the whole object has to be the same PBR material, just click and done.
They can be very cheap as well:

https://superhivemarket.com/products/5000-pbr-asset-browser?search_id=40474831

I don’t work for the people I paste. I just find them useful that is it.

1 Like

Exporting as glTF, FBX did not work well in Godot. Seems Godot support glTF nstively.

Optional:

  • in Blender >> file >> external data >> enable “automatically pack resources”
    The file then will be added to the blend file. Not a bad idea.

= export glb/GlTF file =

  • Blender menu file > export > GlTF
  • choose options:

Vertex colors both enable
Material >> Quality 100, Images “JPG”
Arnature >> disable “use rest position”
disable “shapekeys”, disable “skinning”

Above settings seem to work. Re-import into Blender gives a bit strange mesh glitches.
Must be a viewing option somewhere, that need to be changed.

But inside Godot it seems to be ok.

Definitely needs some tweaking the colours and looks.

1 Like

Added player and made it walk upon it:

Link: https://www.youtube.com/watch?v=sVsn9NqpVhg&t=1396s

The settings to let the player stay on the meshInstance3D is how you organise it in Godot:

But it is just an initial setup. needs some more testing.
The Godot scene is trial stage only. It is to see if certain things work. It requires a lot of changing to get to end product. What works, what doesn’t work, what works better in certain ways.

Need to add some lighting next. So we can see the World Machine mountains and “wood” grass.

1 Like

for sure. I can use the World Machine height maps. Just need to see what I can use more and how of WM. Of every program I just know a bit.

Basic lighting from the sky or set (baked):

Many settings changeable. a Good start.

With good lighting I noticed the state of the textures I painted. They are not sharp enough:

Till now I am actually very satisfied with the results. In about 4 days I went from nothing to a working prototype.

My next steps, I will do on my own. Need to find out how to use the World Machine created environments. I did see that others went before me, like this person on Udemy:
https://www.udemy.com/courses/search/?src=ukw&q=world+machine

One of them uses Mudbox to create the landmass from sculpting. Then feed it eventually into World Machine for adding the enviroment. Someone of this forum created low poly like game worlds in World Machine, that is also a thing I would like to know, and how that could be used in my work flow.

It has been a short 4 days, but This what I did in here, has started months ago, reading, doing research, trying. It did not magically happen in 4 days. These 4 days I have been working on this many hours. For me this post have pushed me to create and go beyond then just dreaming.
Any dream becoming true starts with a step in reality.

I think it is done for now. My own game I will not show to everyone, there is a such thing like copy right thing. It does happen that other people steal your idea. Complete games are stolen , copied, renamed and sold else ware. Don’t be a fool. It happens.

Support the people who create good software, don’t pirate, because you do not want others to steal yours right? So, treat others as you want to be treated, simple code.

Hope you readers are somehow satisfied. I will be hanging around.

Be well! (^^) //

2 Likes