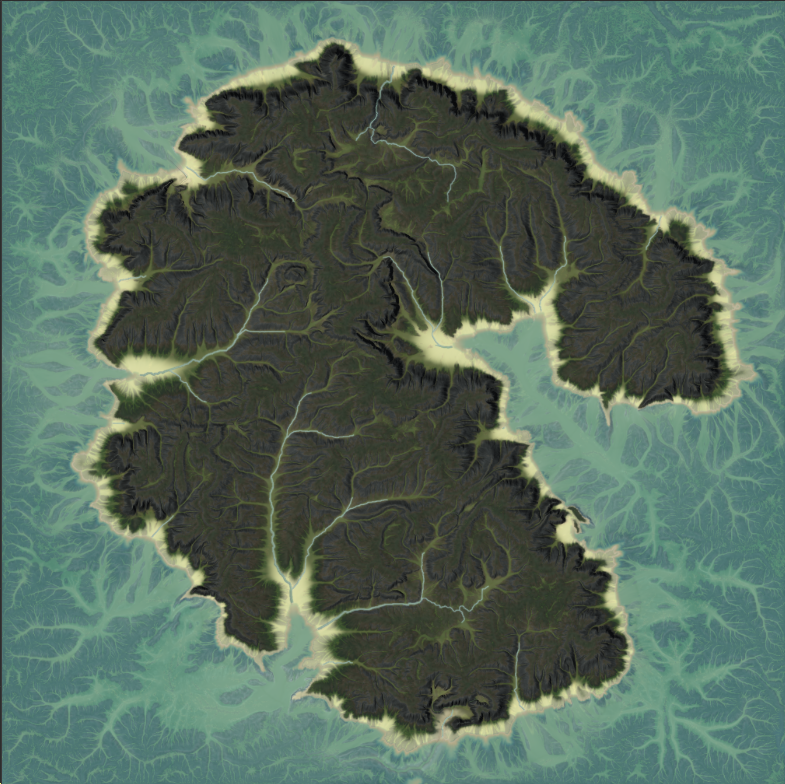
So for a 2D top down view of the map I really love using Scene View. By combining a few quick texture, costal texture, and water textures I’ve come up with a great image. What I would like to do is find a way to export the Scene view out. While I know I could export the bit map and texture maps, it’s that 3D view within the 2D image that I’m looking for to share with others.
Currently I’m having to screen shot the image and share that, but I feel I lose a lot of the detail that I would otherwise get if I could just export the scene view at the proper resolution. My question is, how can I recreate the scene view but have the ability to export out the image as I want it? Where it applies all the texture values AND the height map appropriately like Scene View does.
The picture is an example of what I want the image to look like, but I want to be able to export it at the 8K resolution instead of just screen shotting and having a low res version of the map.
I’m not sure that there’s a built-in way to do this, but a fairly simple way you could do it is pipe the texture and a lightmap maker device into a combiner set to multiply, play around with the lightmap maker settings until you’ve reached something you like, and go from there. Or you could probably even do the same thing with just a Select Aspect device into a combiner with the color texture, now that I’m thinking about it.
Just to be clear, here’s my understanding of this. You want basically a “higher than your screen resolution” render image output, from your sceneview device?
There’s a few problems with proposed feature.
For higher resolution preview, you’ll need higher resolution textures and mesh. Also, the higher disparity you have between your native resolution and this custom resolution, the more extra data needs to be built for it to look as crisp. These things pile up like crazy, taking up memory. You’ll see when PBR comes to wm.
All that complexity, becomes a burden when you think about the focus of this tool : Creating terrains for consumption by content creation tools. For anything serious, you’ll have to go to rendering application anyway, like marmoset toolbag, keyshot, or blender. Or a game engine like unity or unreal. Then this “casual” preview will be discarded, in favor of a proper render. In the end, exactly how much time, energy, and computing resources, are you willing to waste for an “intermediate preview”? Something to think about, eh?
That said, I love world machine previews. So I would probably still celebrate this feature if it DOES get promoted to top priority lol! I keep saved my wm previews along with all my terrain production data, I just like those better for close inspection. Hell, I have “preview tmds” set up with all my terrain projects, for quick “high res previews” of textures and masks I built.
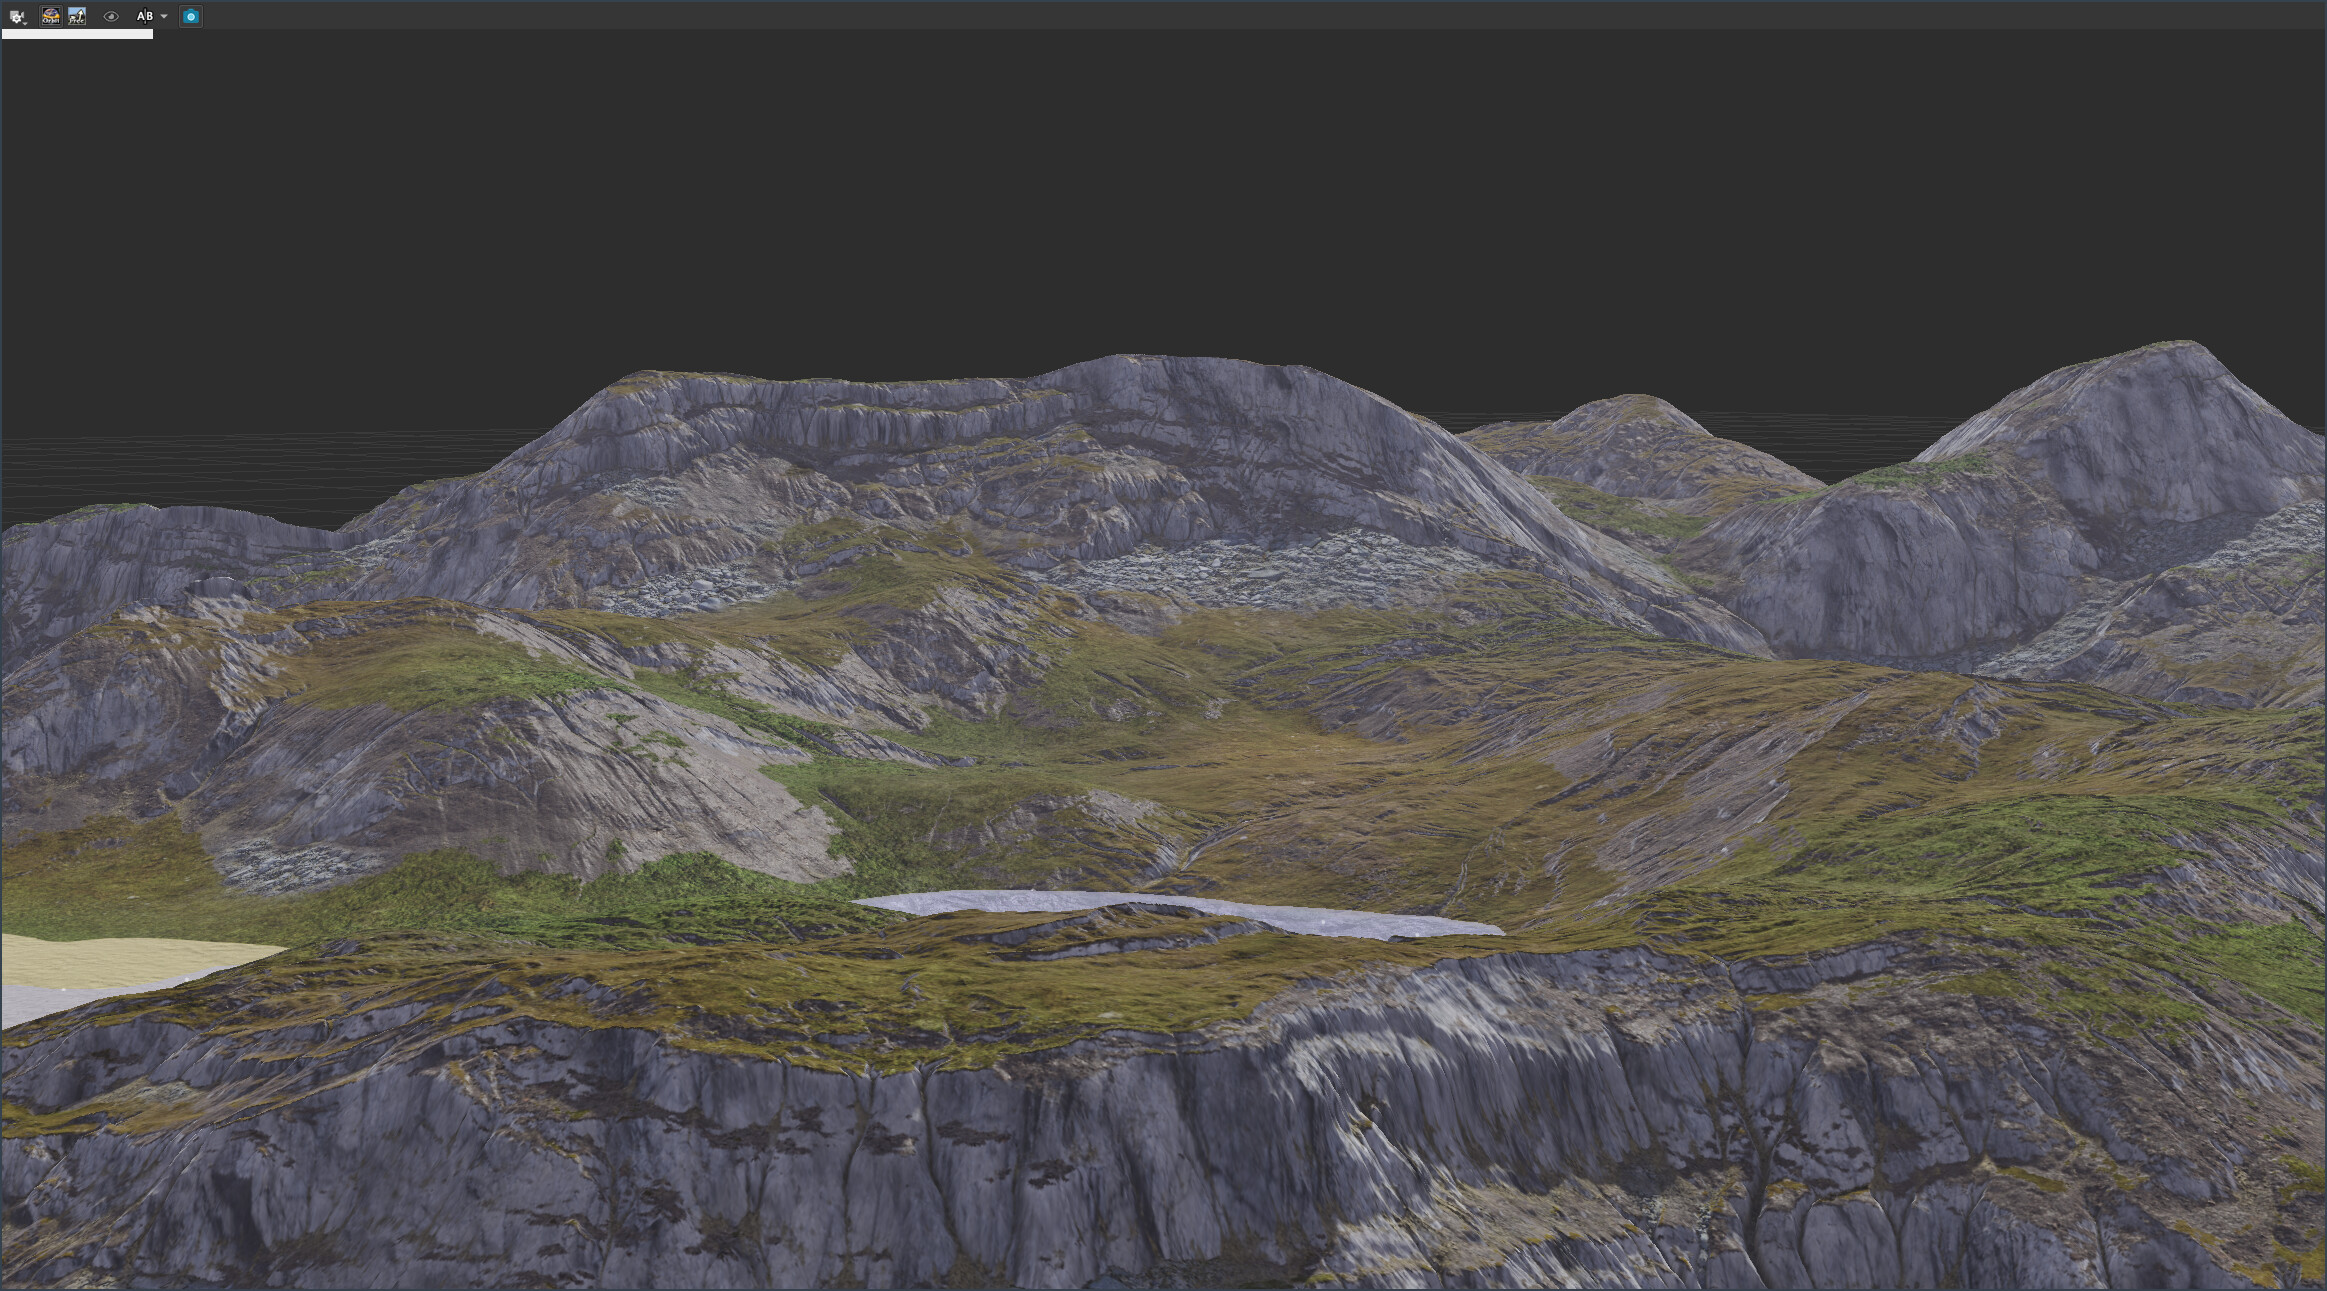
Soon, there’s a feature coming to world machine. “GLTF export”. Along with it, “PBR support”. The viewport preview is gonna get loads better, with material exports that will make terrains shine in other apps as well. Having built terrains for over ten years, those are definitely the things that are more useful when you want to present or process your terrain data further. Here’s a peek!
basically I just want the scene view to export out to put it as simply as possible. I want the image I get from scene view to be exported out so that it comes out at the 8k res the map itself is in. Like I do for the mask maps and such. I can export the terrain texture map and I can export any of the other texture maps, but they just look flat and don’t have the height map data built into them which is why they don’t match the scene view. I would just like the ability to export Scene View as a png.
that image btw is BEAUTIFUL! I hope to get skilled enough in WM to manage coming out with things like that one day. I’m still just a baby duck in my experience and need to up my computers capabilities.
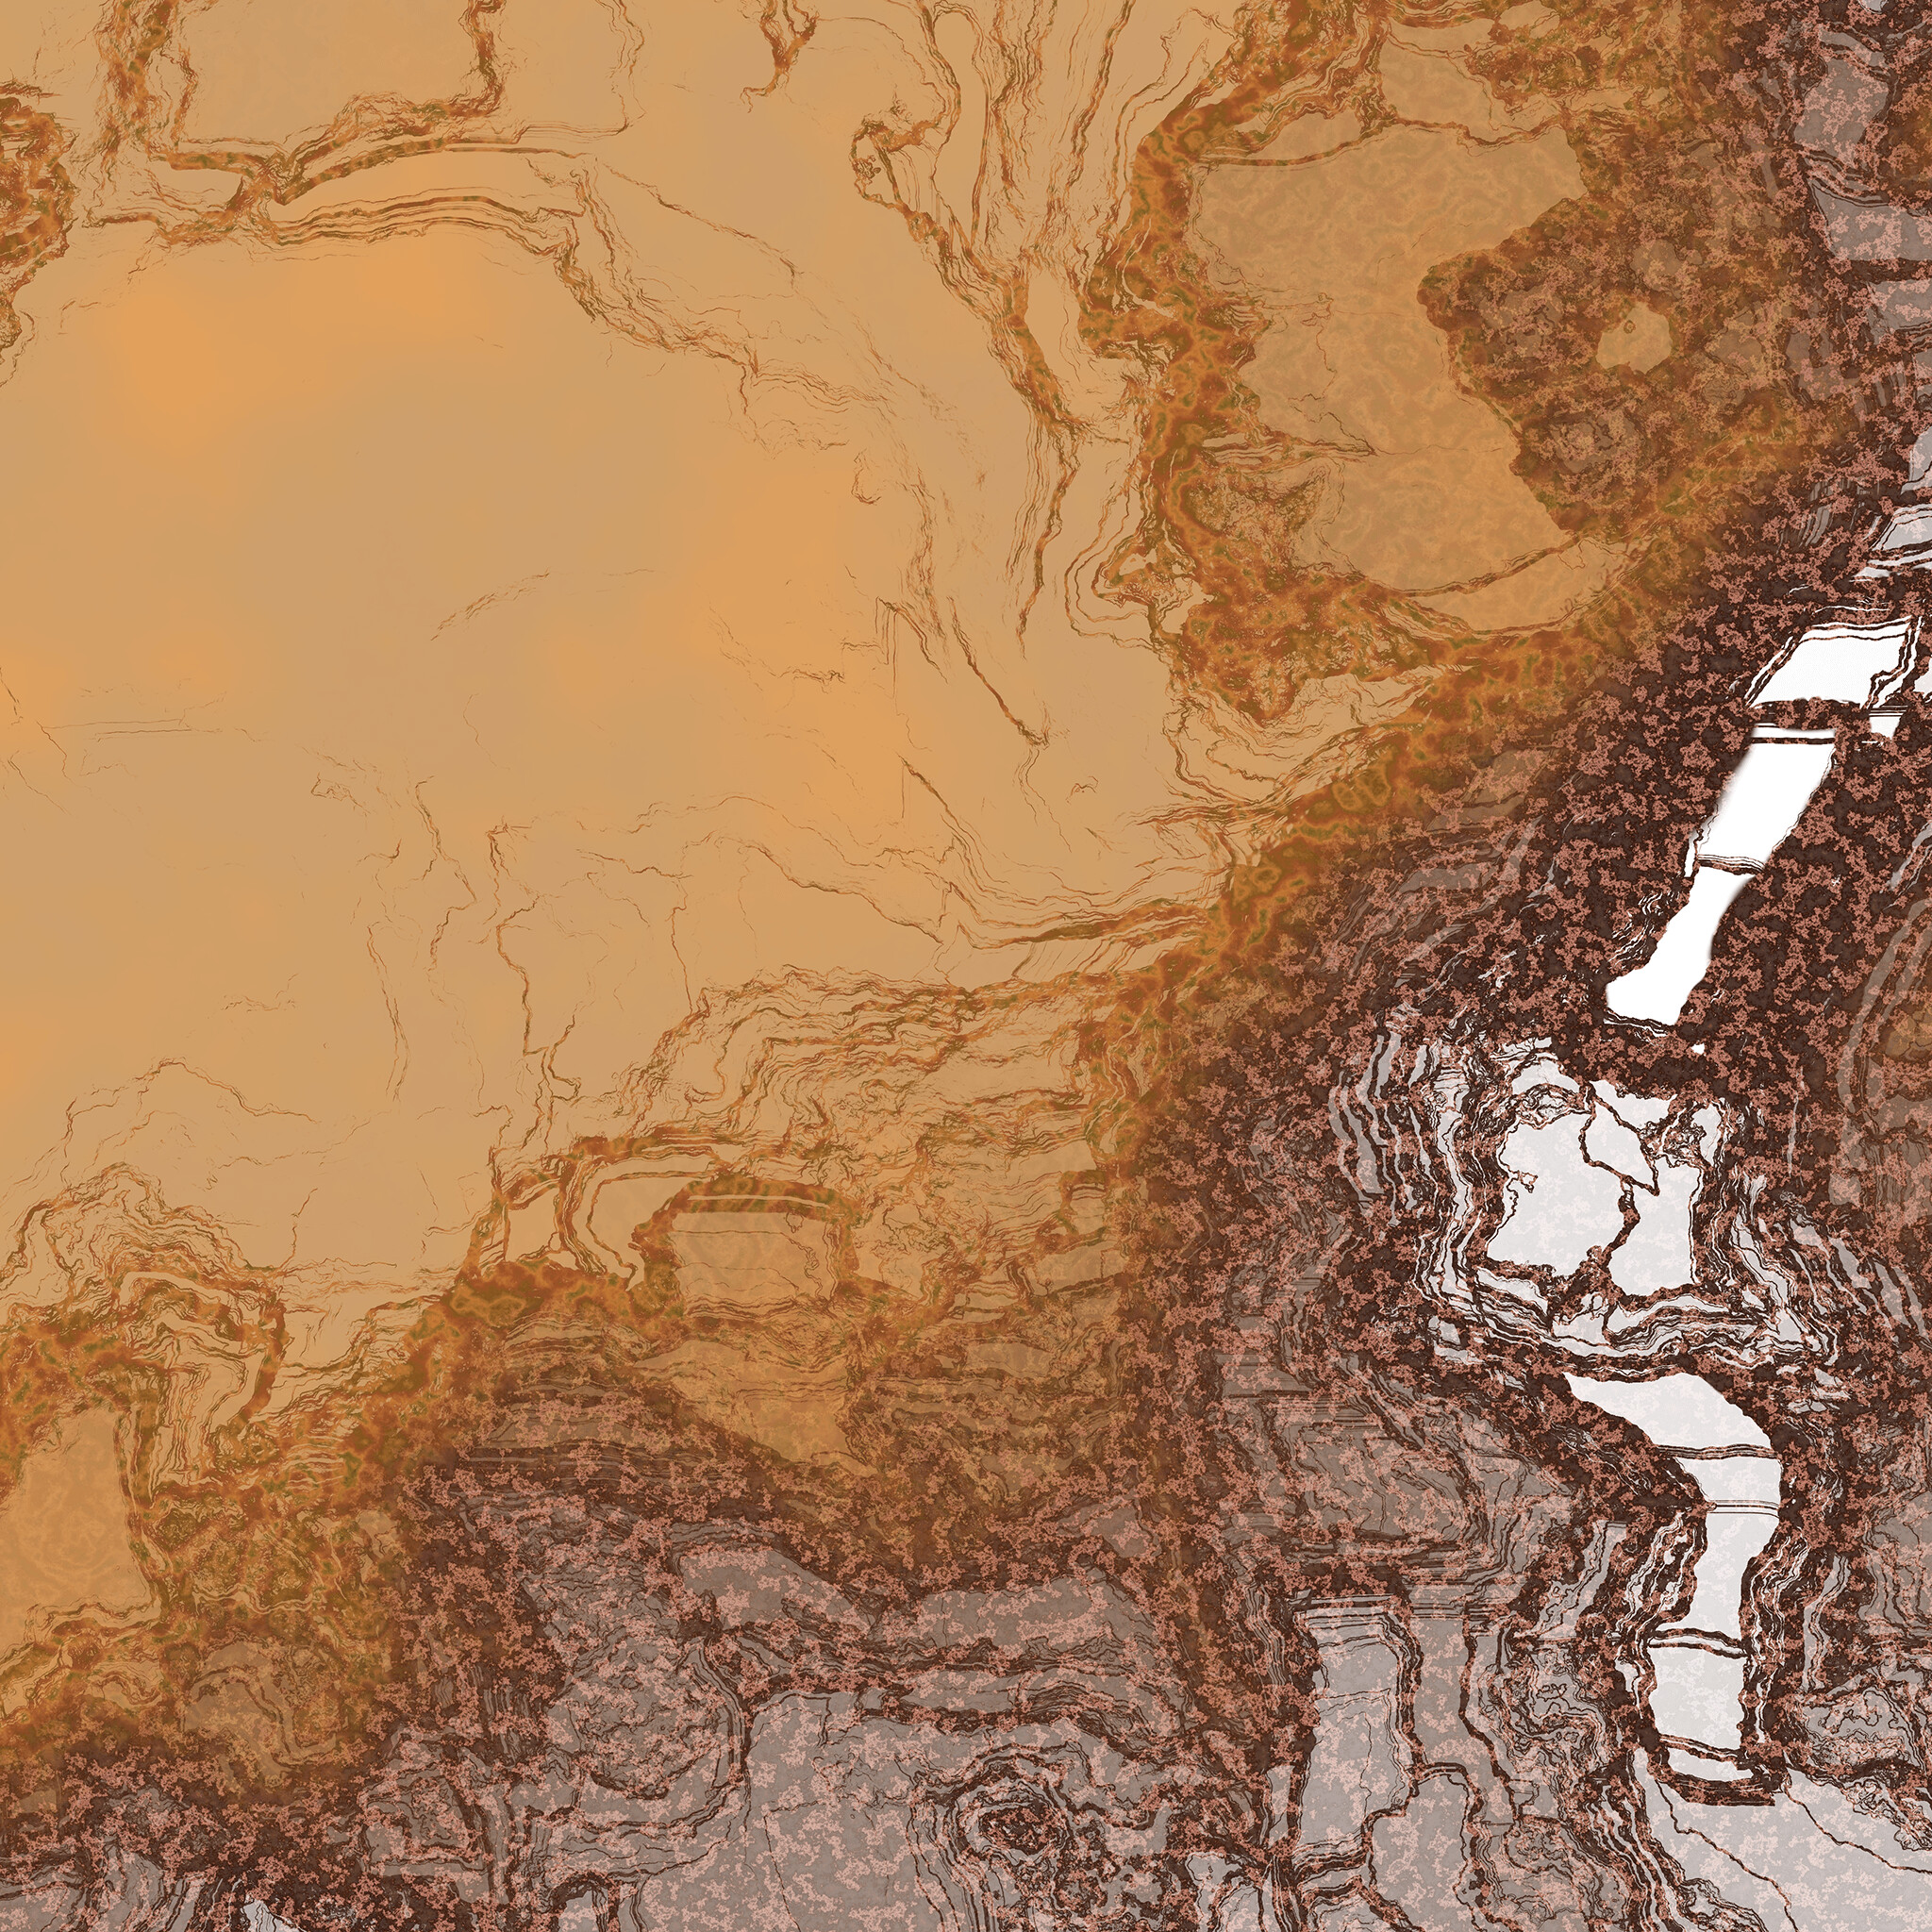
Just double checking that I understand your question correctly here, you are trying to output an image like this, correct? (albeit with considerably more detail, I’d assume. This is simply an Advanced Perlin piped into a Quick Texture macro, image has also been scaled down in Photoshop after export for smaller upload size)
If so, this was made by taking the texture (in this case, the Quick Texture output), and combining it with a Select Aspect device. The Select Aspect device had a Heading of 276, and an Elevation of 57, though obviously you’d want to play with different settings to get the exact lighting situation you’re looking for. The Combiner device was set to “Multiply” as the method, and then the strength was set to 0.6, though once again, you’d want to adjust that to suit your needs. The result of the Combiner was then sent to a Bitmap output device, built, and exported.
I’m working on a more complex/better textured scene to give a better example, but build times get a bit crazy once I introduce Erosion and the like in the mix, so I figured I’d at least double check that I’m understanding the question before I start on that ahaha!
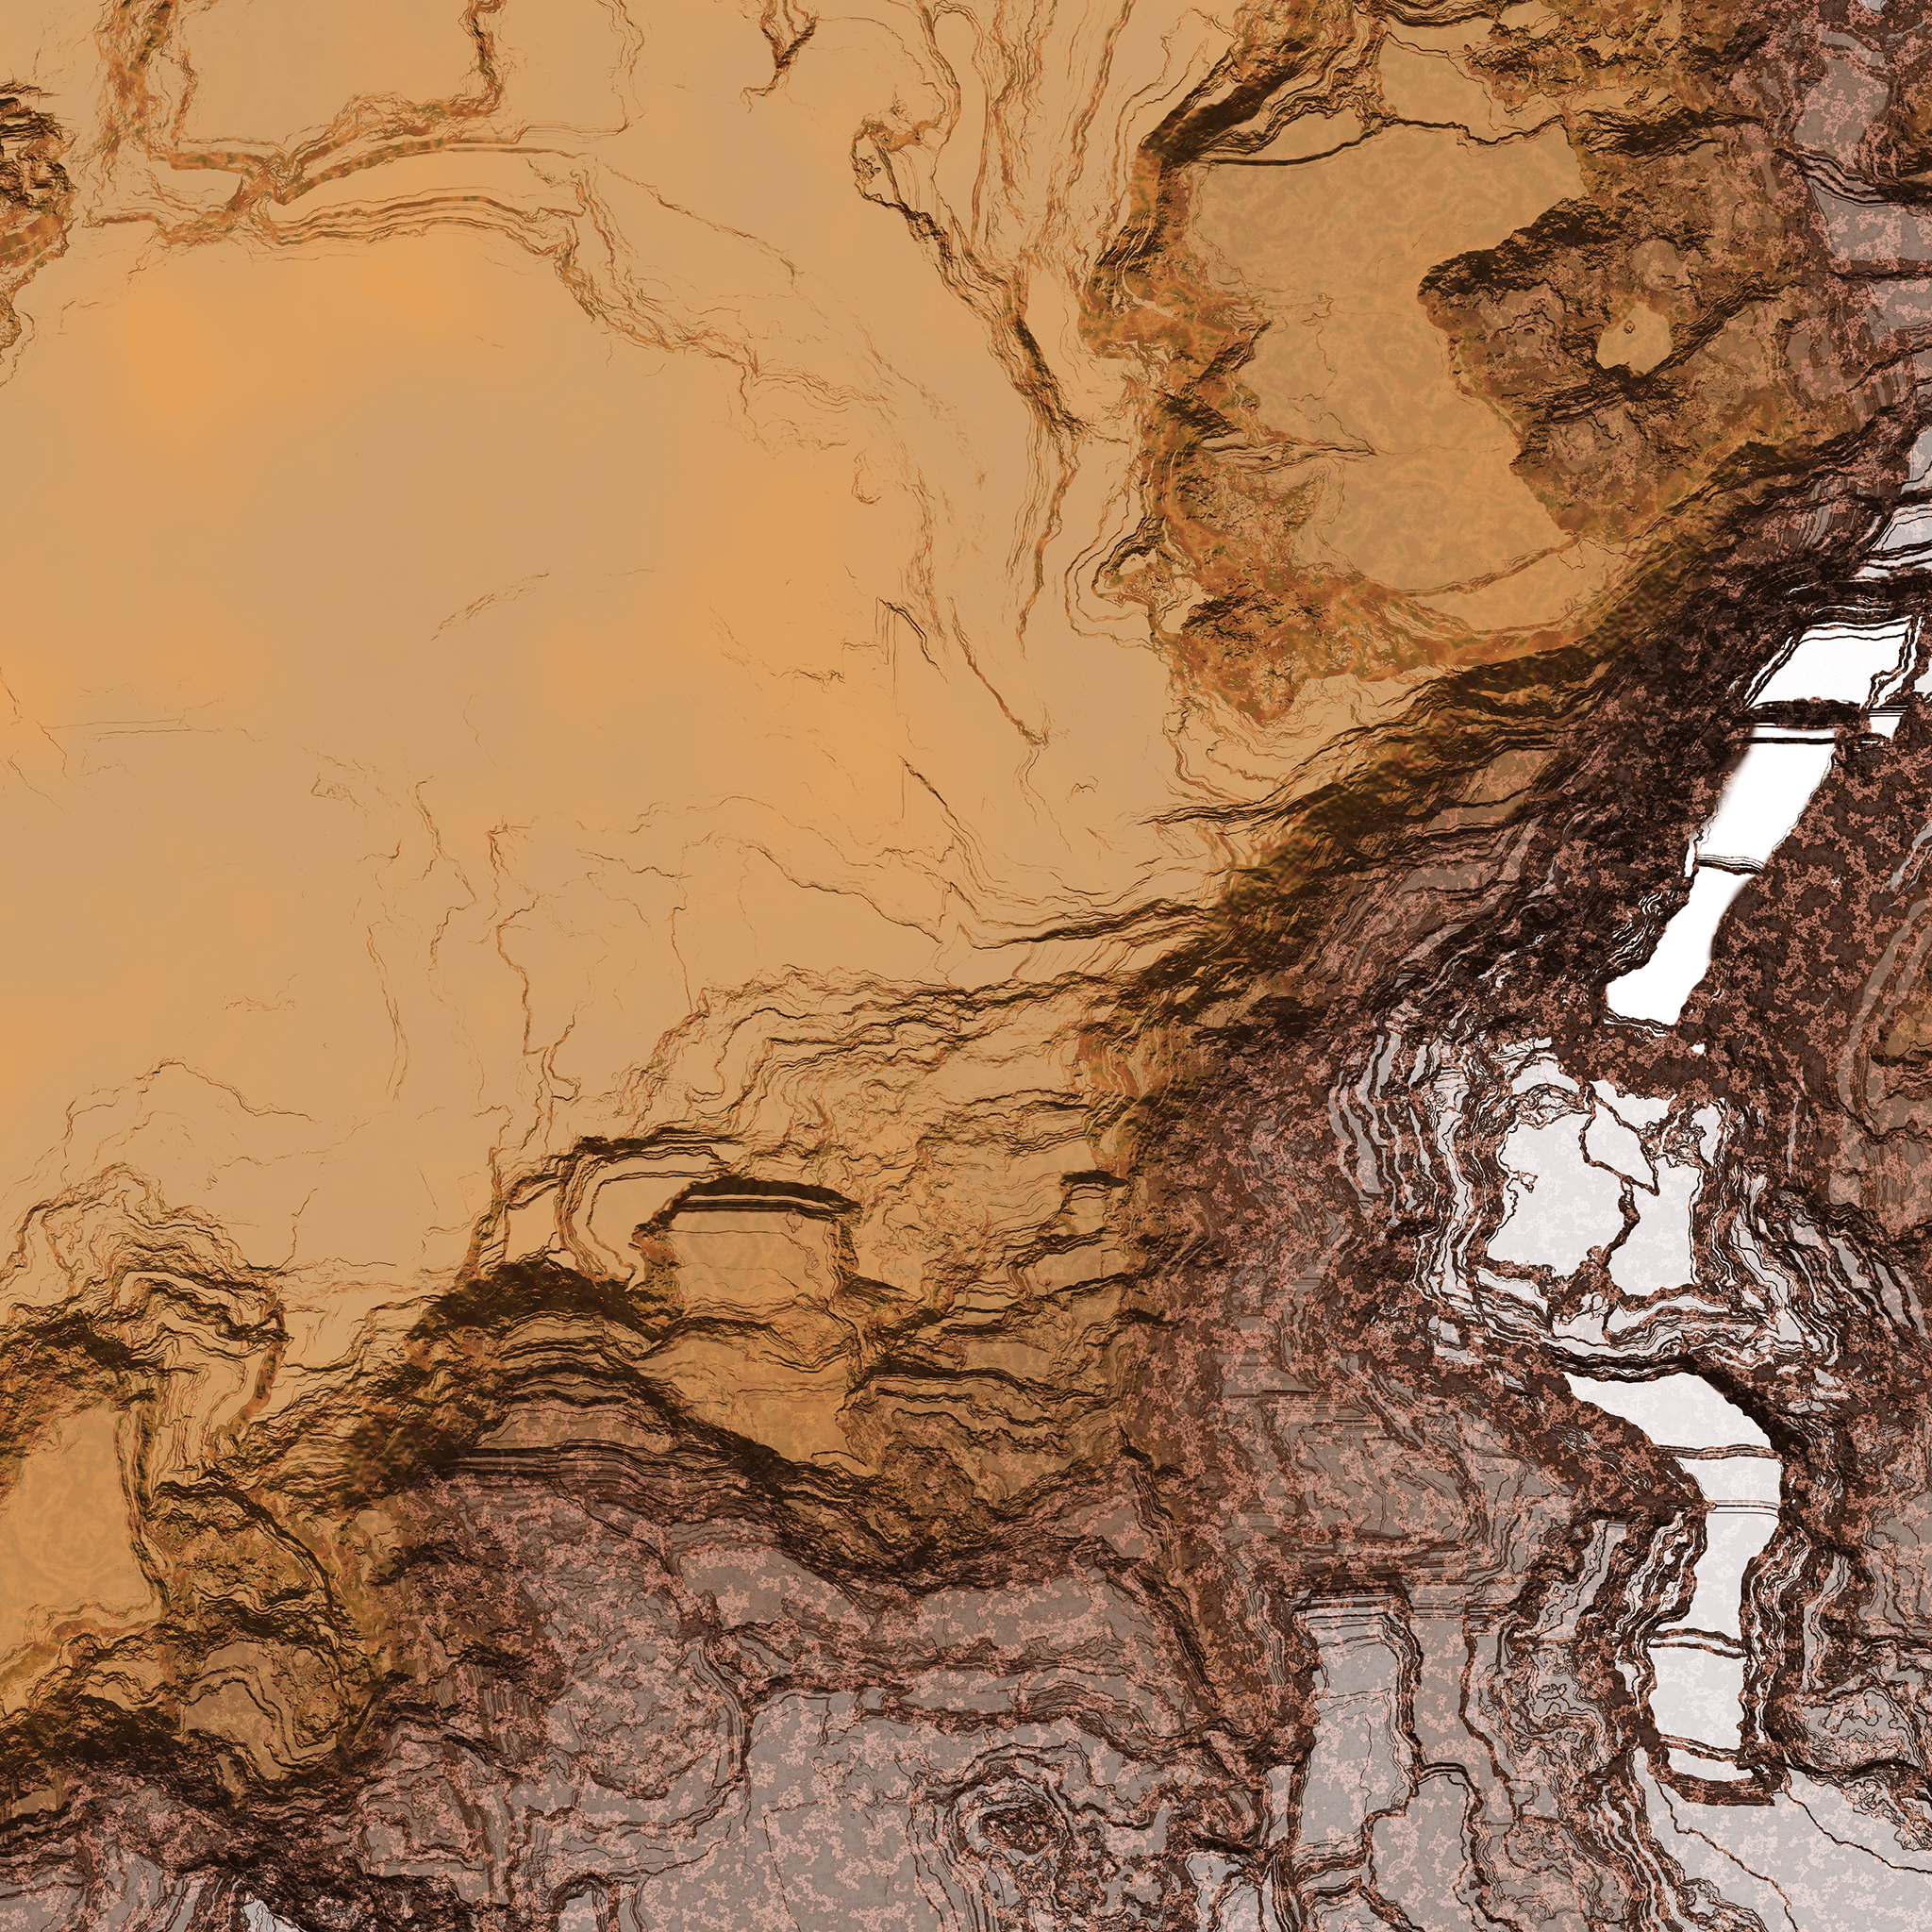
In this version, I also piped the output of the Select Aspect device into a Select Height device and used that to mask out some of the flatter areas so that the overall image didn’t get darkened too much.