Hey everyone!
Ever since i have picked up WM I have always struggled in creating this type of cliff.
I have tried a couple things over the years but never really got that cut out feeling.
Would definitely appreciate any help!
Hey everyone!
Ever since i have picked up WM I have always struggled in creating this type of cliff.
I have tried a couple things over the years but never really got that cut out feeling.
Would definitely appreciate any help!
I obviously can’t guarantee any results, but I can walk through my thought process on this, as well as provide the results I came up with during my attempt to create something similar.
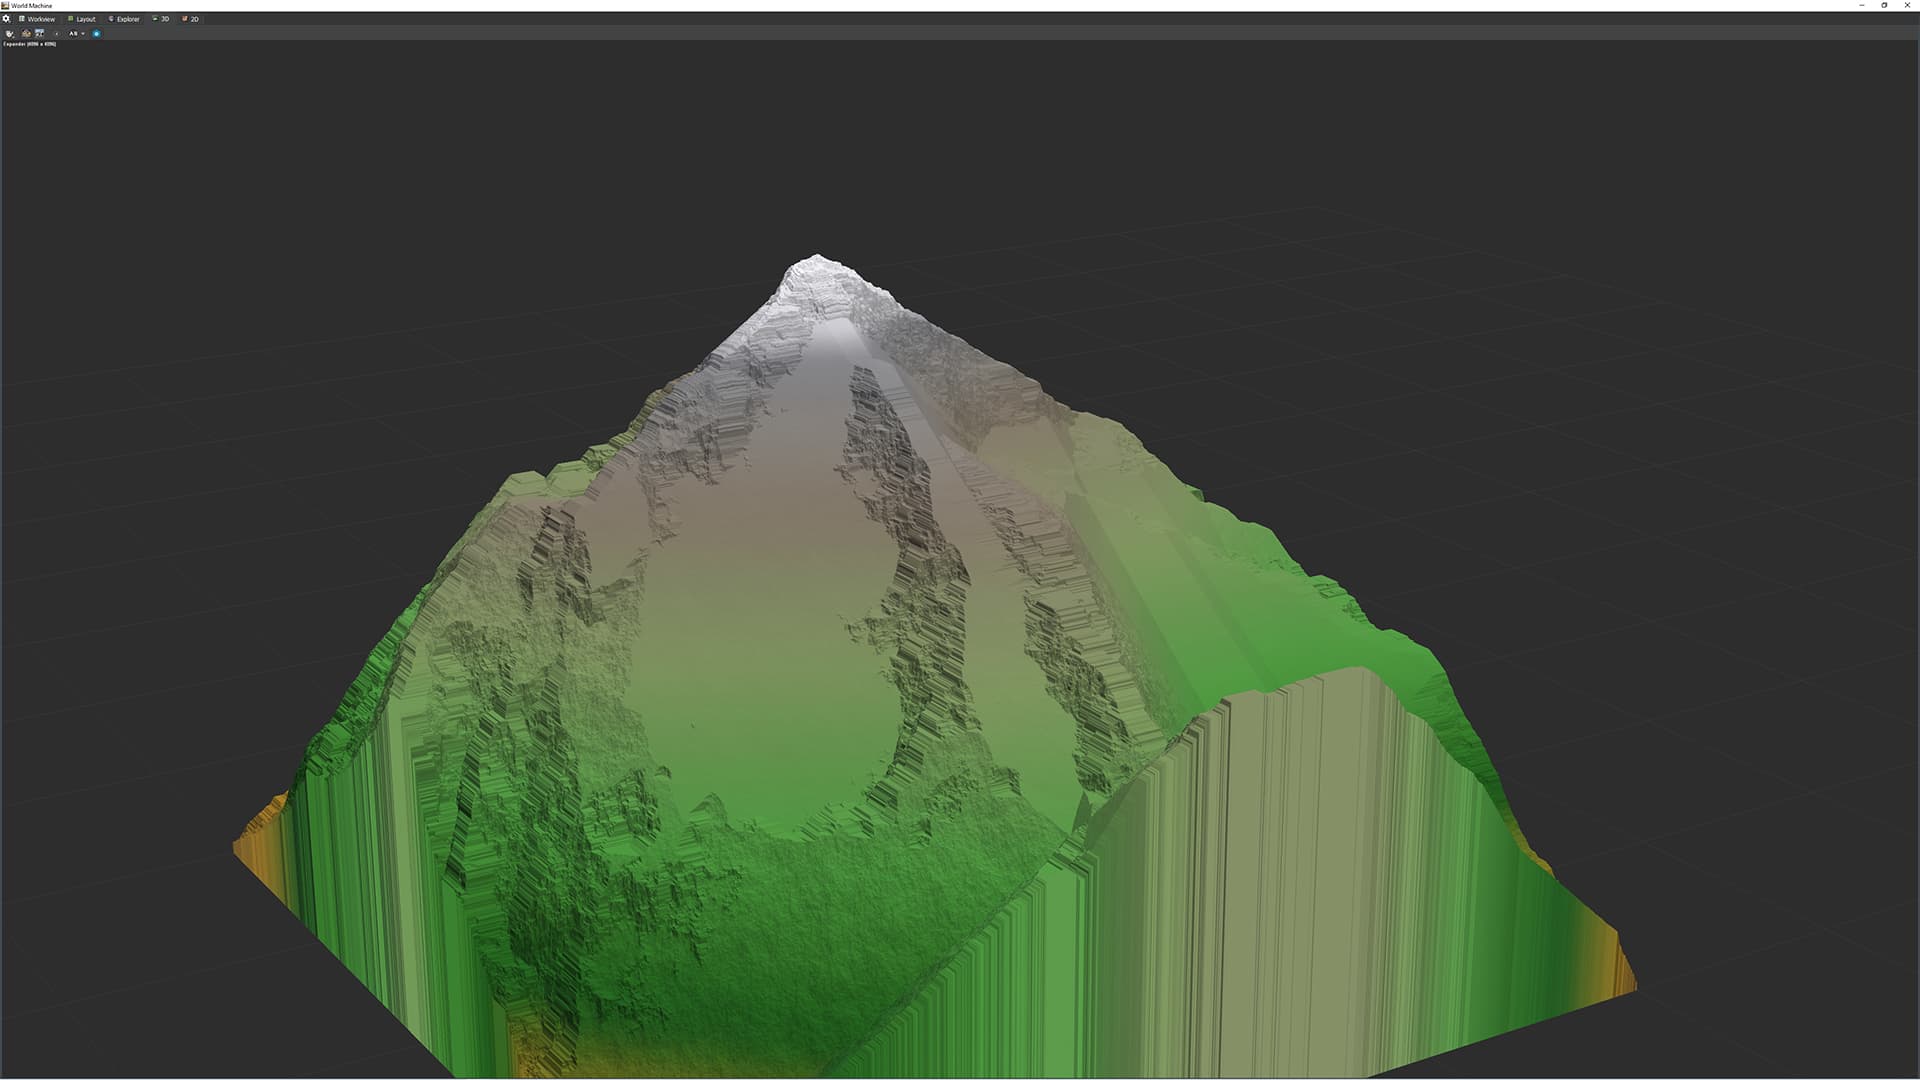
At a high level, the smooth, straight slopes with the rough edges makes me think a noise pattern fed into a Voronoi device. The jagged nature makes me think one of the combined Voronoi patterns (my go-to is F3-F1).
For the really sharp creases on the mountains, mixtures of expander nodes can be helpful, particularly the linear slope set to Shrink. The horizontal lines in some areas, however, read to me as an expander set to the Square filter type, and then set to Shrink, so my guess is a combination of the two.
The shape of the mountains to me suggests they were created from the Flow output of an erosion node. My general process for that is to make a base shape that I like, in this case I would probably use a couple combined radial grads set to Diamond, invert it, run an erosion device on it with the resolution set really low like 128 or 256, take the flow output from that, pipe it into an Expander set to Linear Slope filter type and Expand for the action, and then pipe the result of that into a combiner with the original base terrain set to Multiply.
You can definitely see some of the soft roughness of a Thermal Erosion device in some areas, but to me the talus reads as if it were added quite early in the process, as some areas would likely be smoother if it were added later, but that could also be some tweaking of settings (or some masks) to keep the general shape sharp.
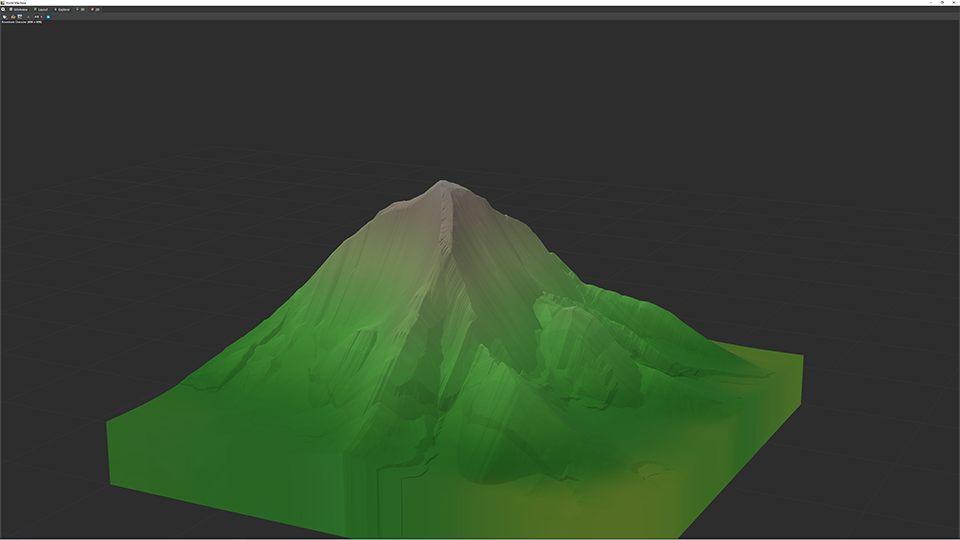
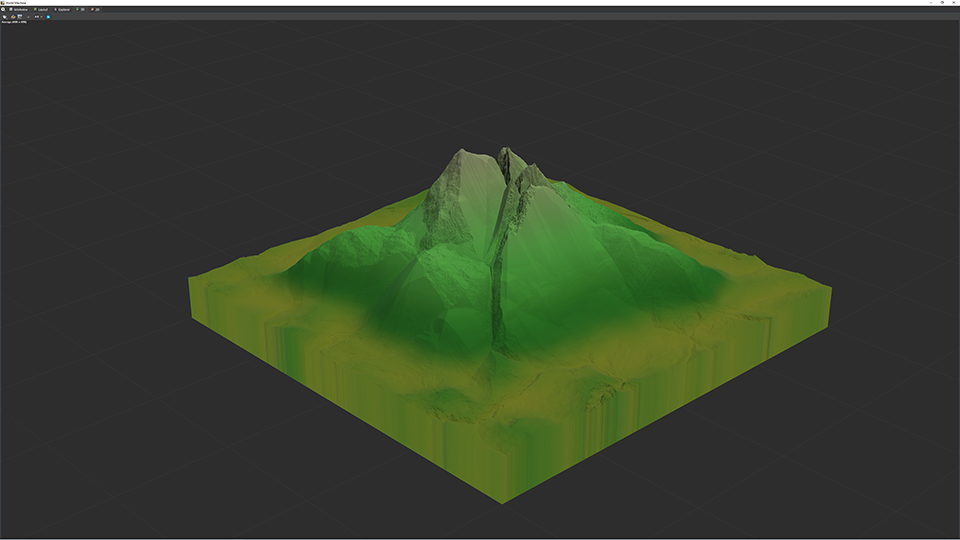
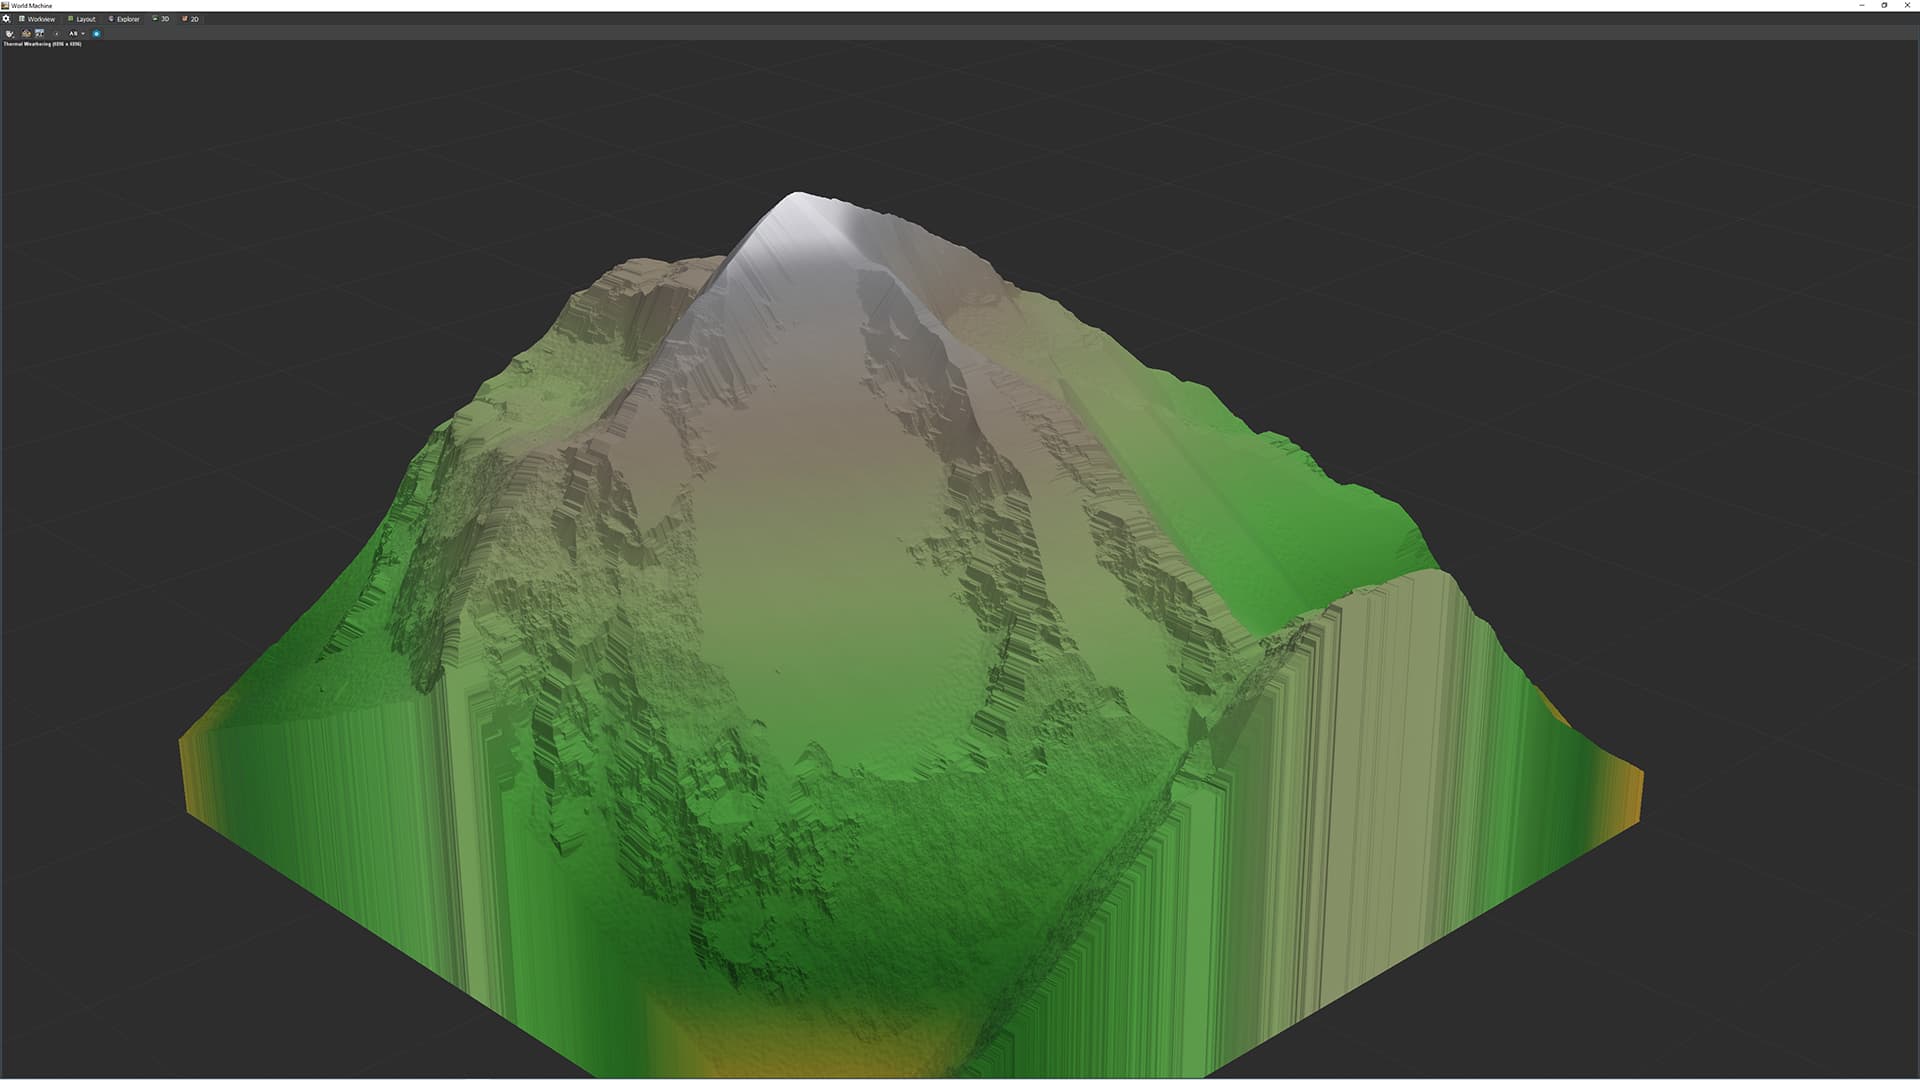
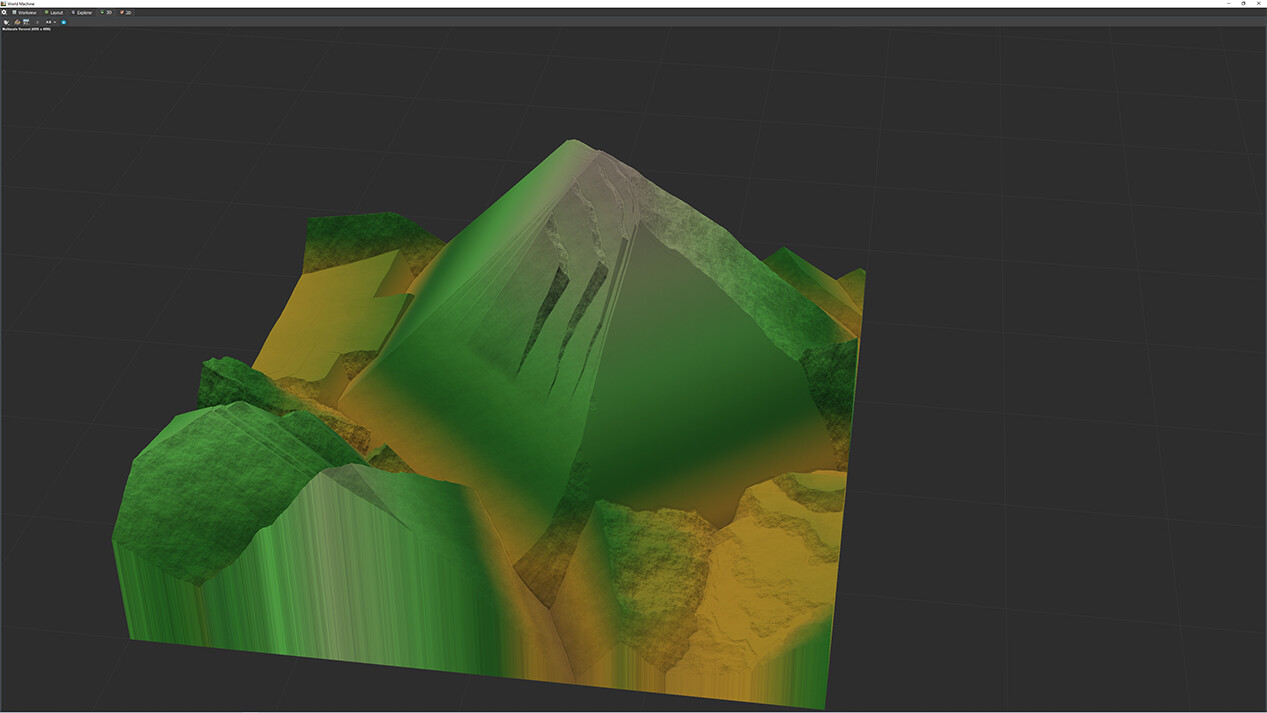
I might have more ideas as I deep dive into the project a bit more, but for now, those are my initial thoughts. Here are some very quick (less than half an hour spent on each) examples I made using various combinations of the above thoughts.
I feel like I started to get a bit close, so I may spend some more time on this later and see if I can’t get something a little closer to your desired results.
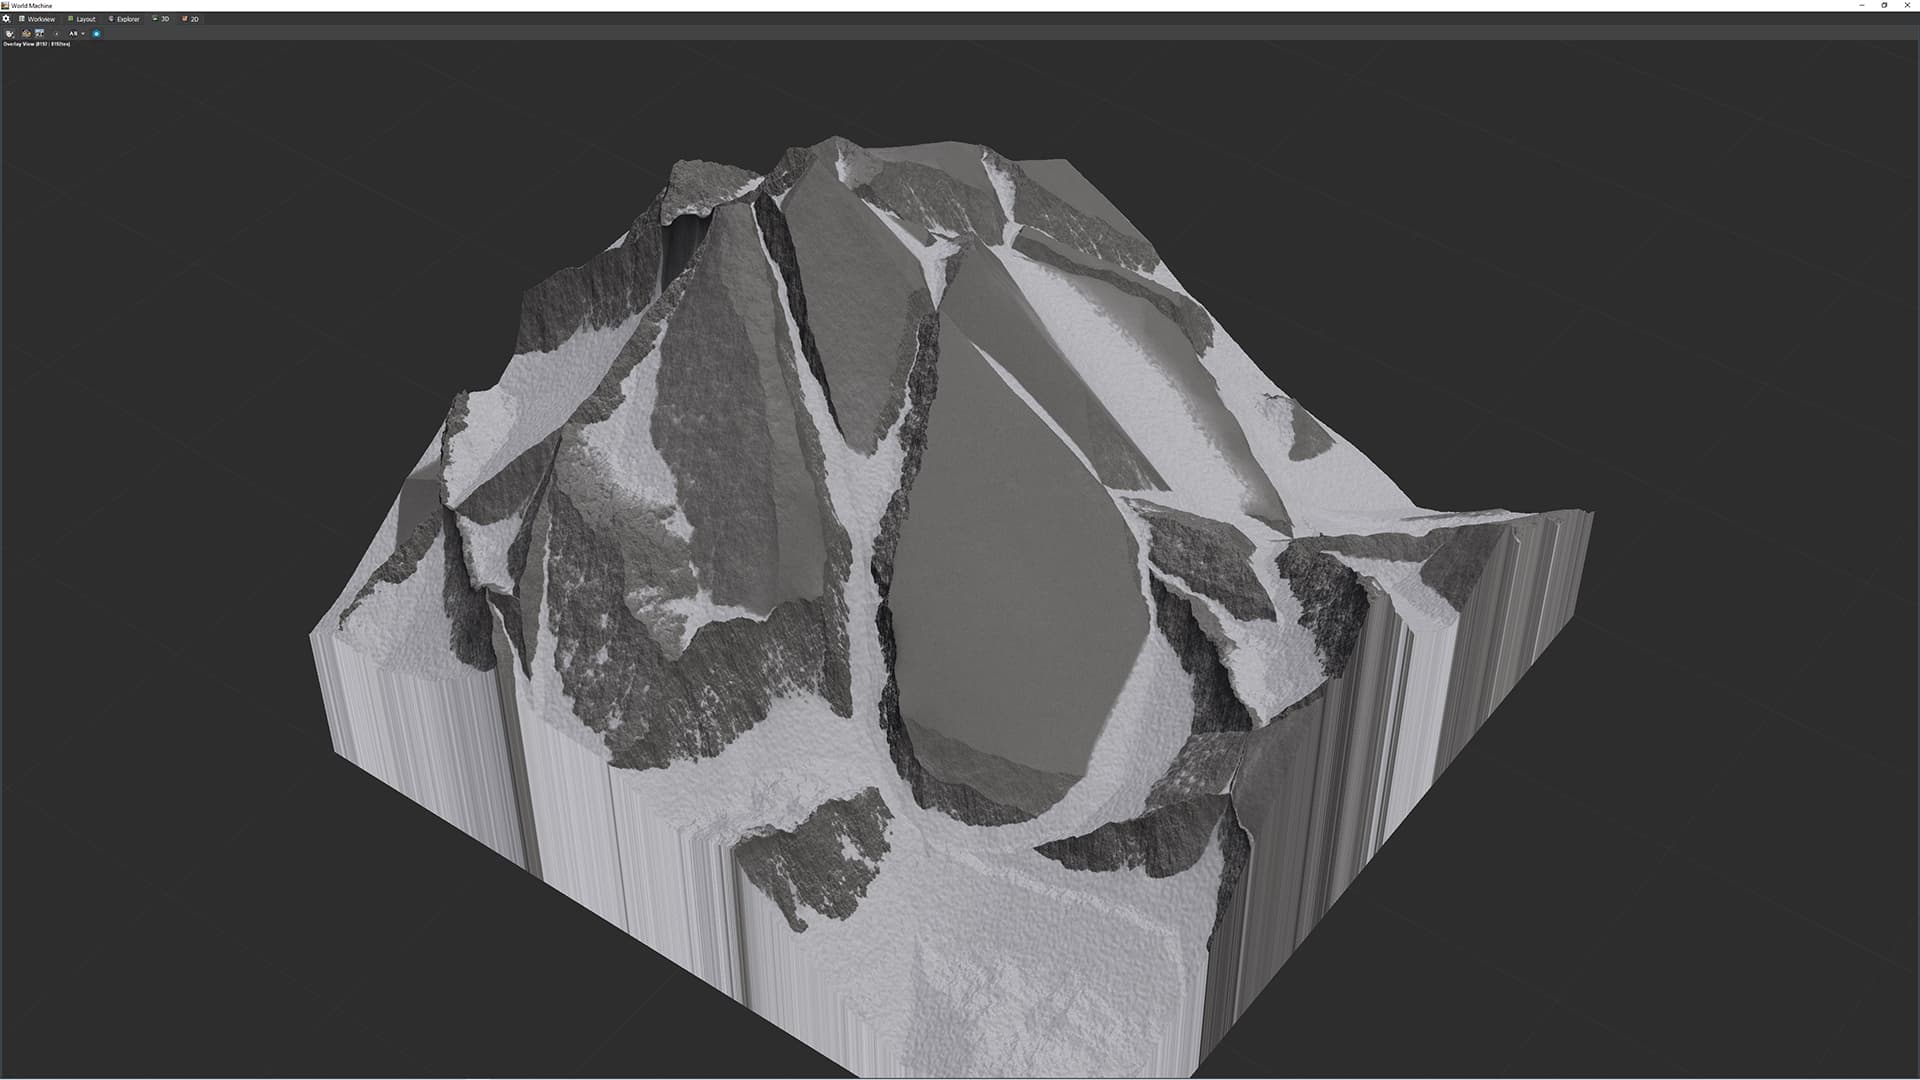
Before I forget, I should also mention that if the smooth slope with rough break points is specifically what you’re after, a lot of that can be achieved by switching a Voronoi device to the Standard device version (rather than Artist Point) and utilizing the Distortion Input of the device, as illustrated below.
From there it would be a matter of utilizing the previously mentioned techniques to refine the shape into something closer to what you want.
I would likely continue by using more Voronoi devices to create selection masks to have a bit more control over the break points.
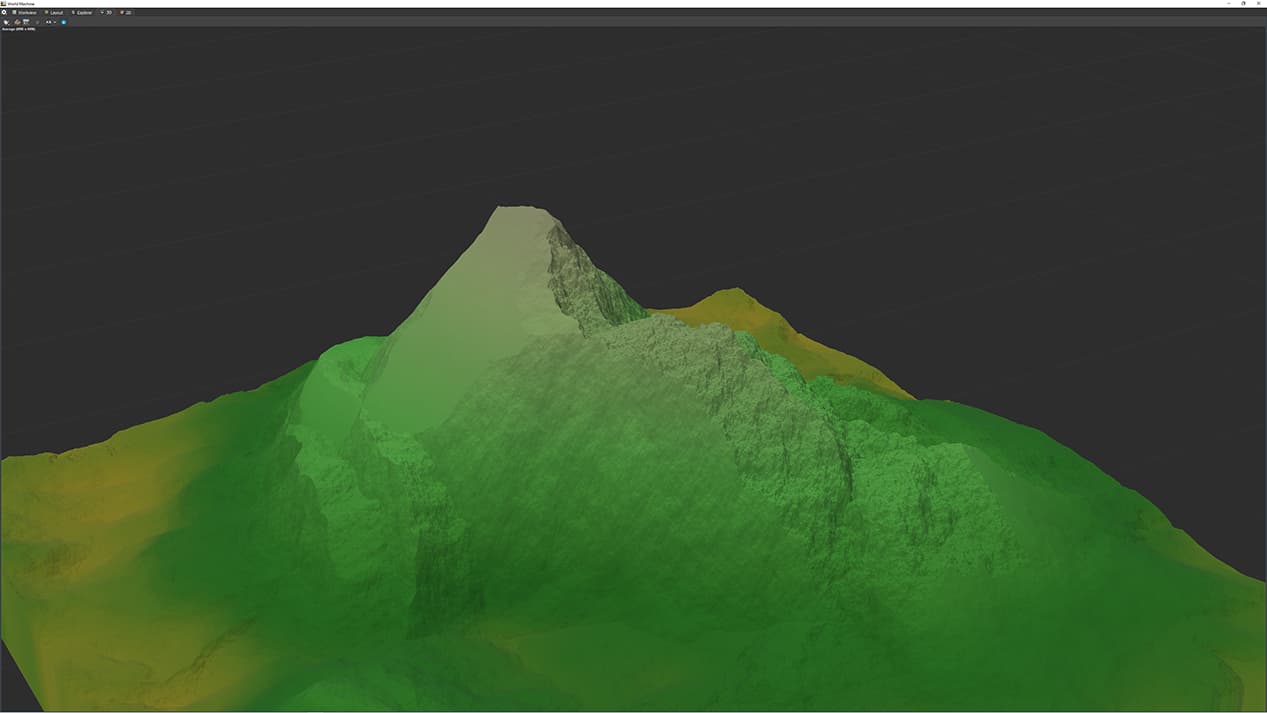
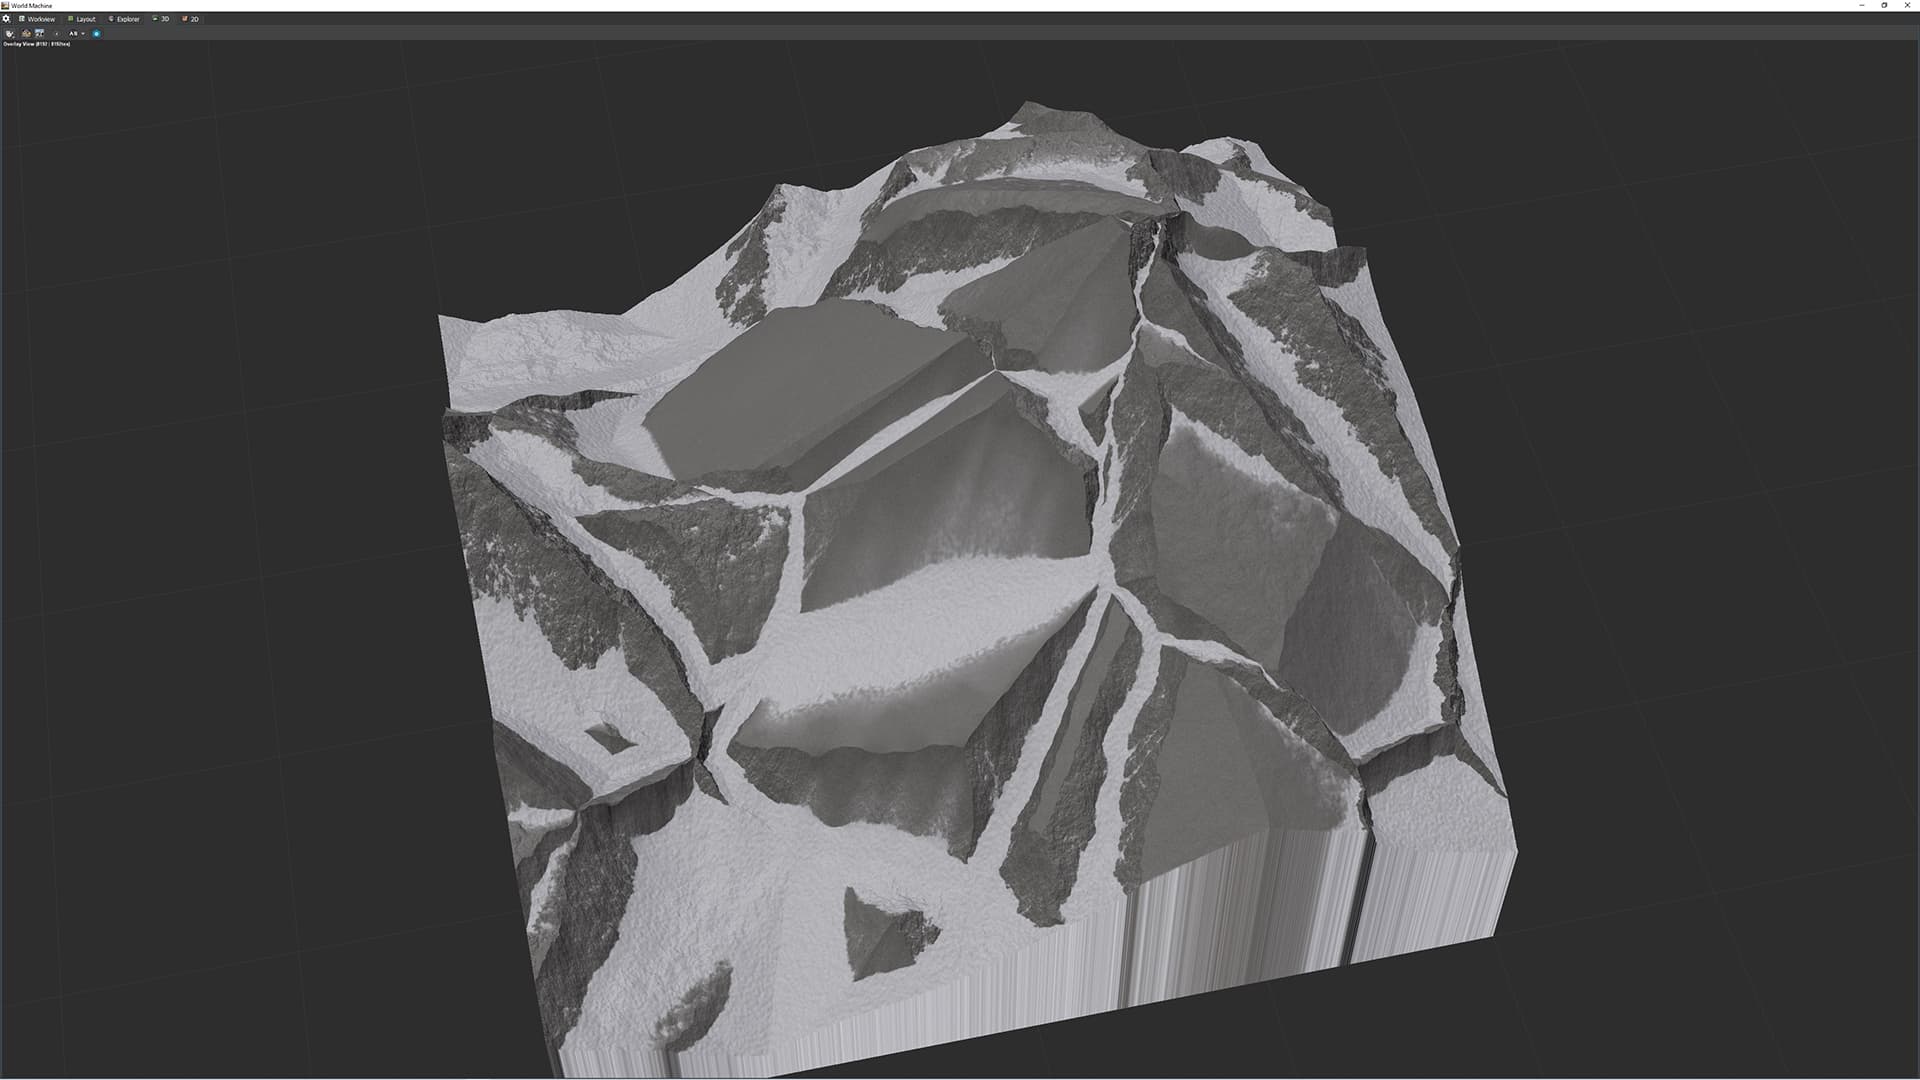
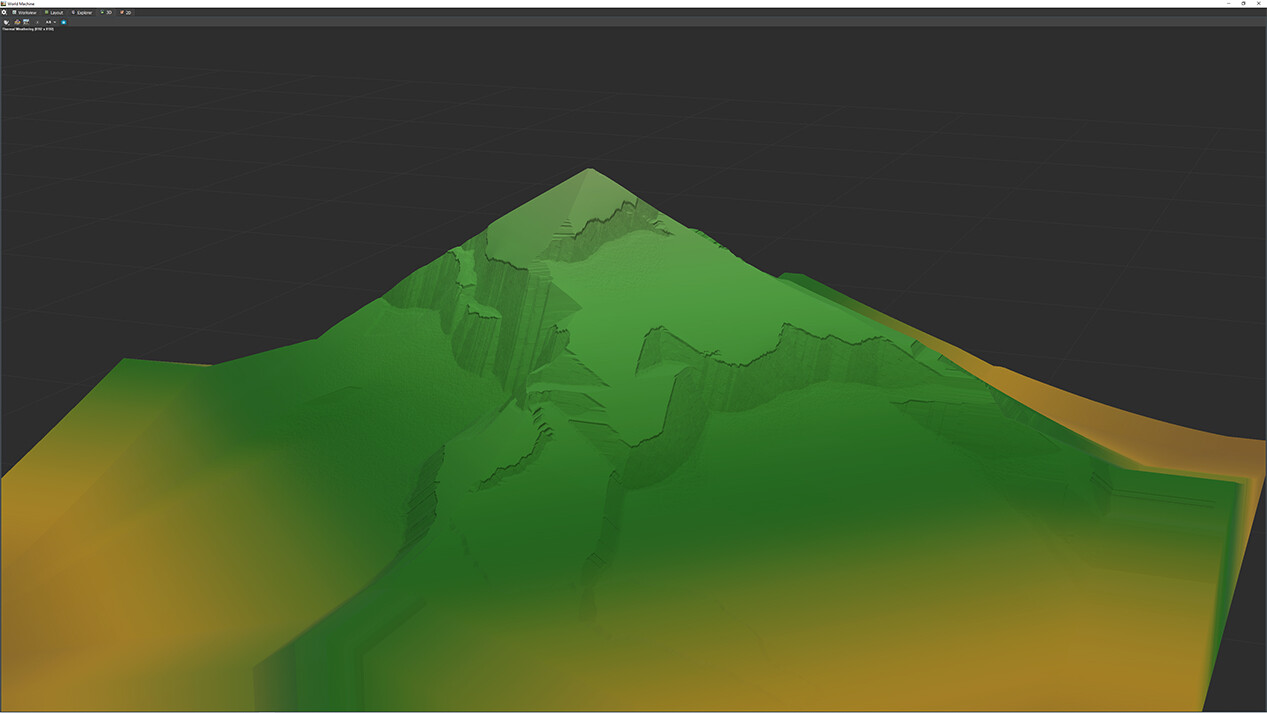
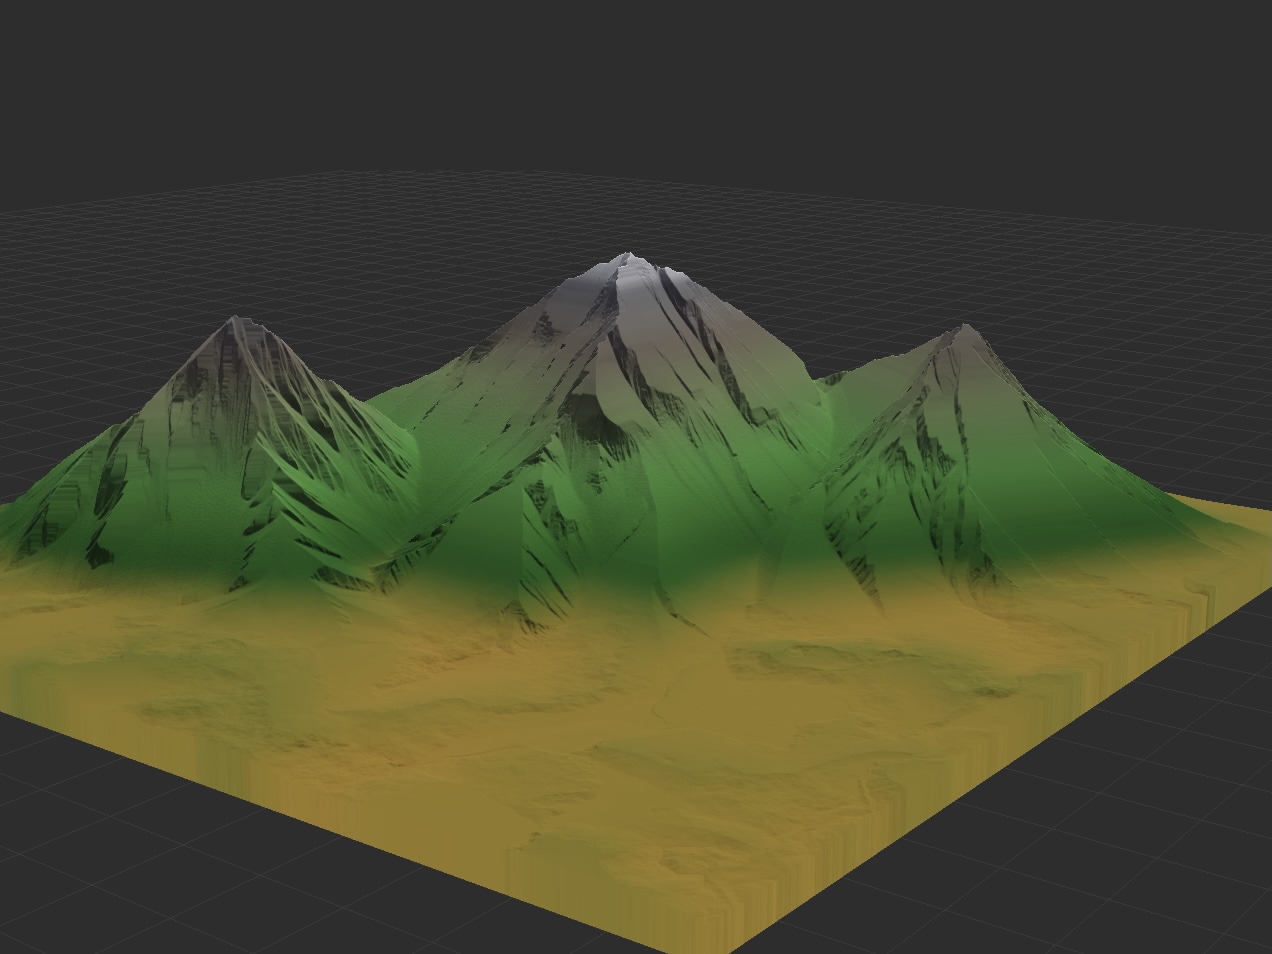
Editing a few hours later with a version I spent about an hour or two on. I used the Exaggerate Features macro to make some of the transitions a bit more apparent in the image. I think this is about as close as I can get to something in that sort of style of terrain going full procedural and limiting myself to the ideas I posted above.
Also adding the project file for if anyone wants to look through it (I took the file a little bit further than the above image, cause I ended up really liking the mountain and started working on a full render of it).
forumMountain003.tmd (737.1 KB)
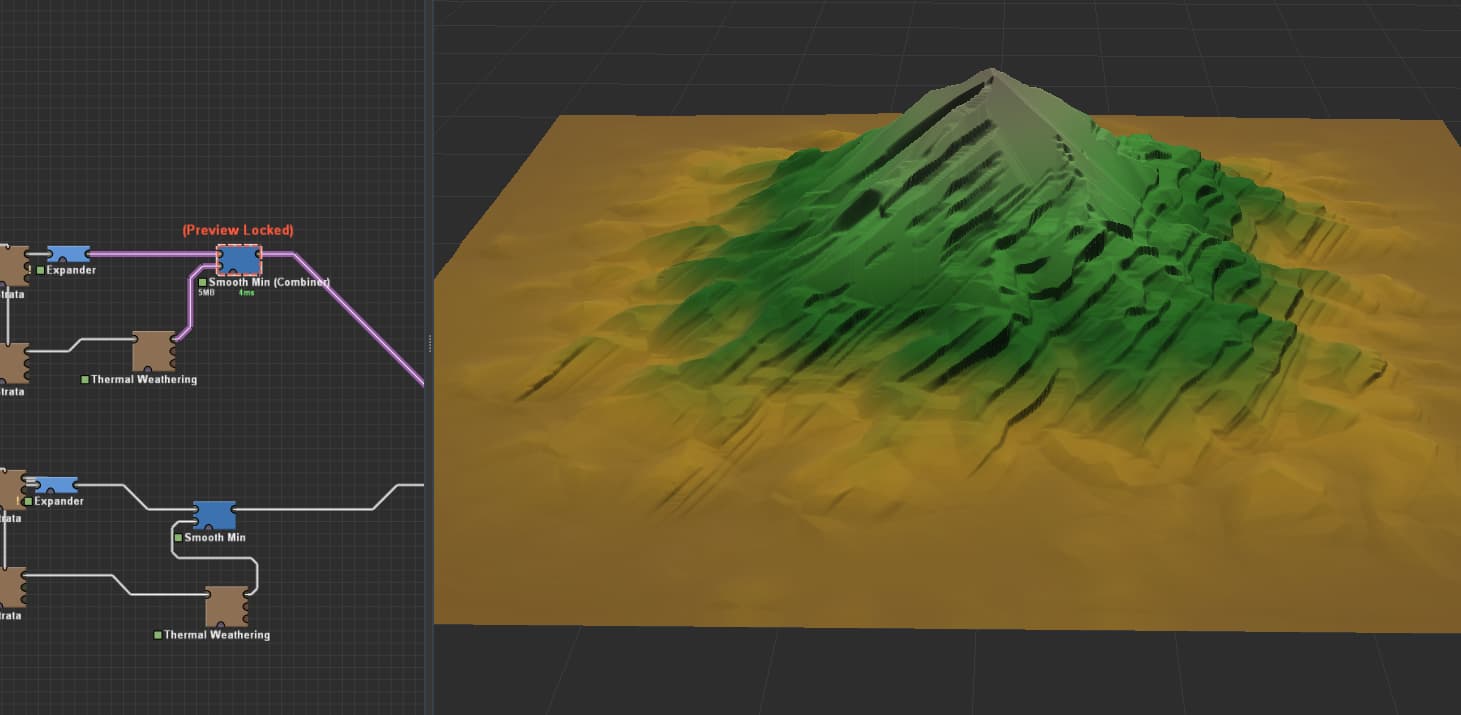
New thought, significantly fewer steps:
Radial Grad (set to Diamond) → Displacement
Displacement Distance input should be a Voronoi device, set to the Standard device version, distortion input enabled, high persistence Basic Noise device as the distortion input, distortion amount maxed out. I used F4-F1 as the Style in my example.Displacement → Expander set to Open (Shrink-Expand) and Square
Expander → Thermal Erosion OR Expander set to Shrink (Min) and Linear Slope
If you use the second Expander, pipe that into a Thermal Erosion.
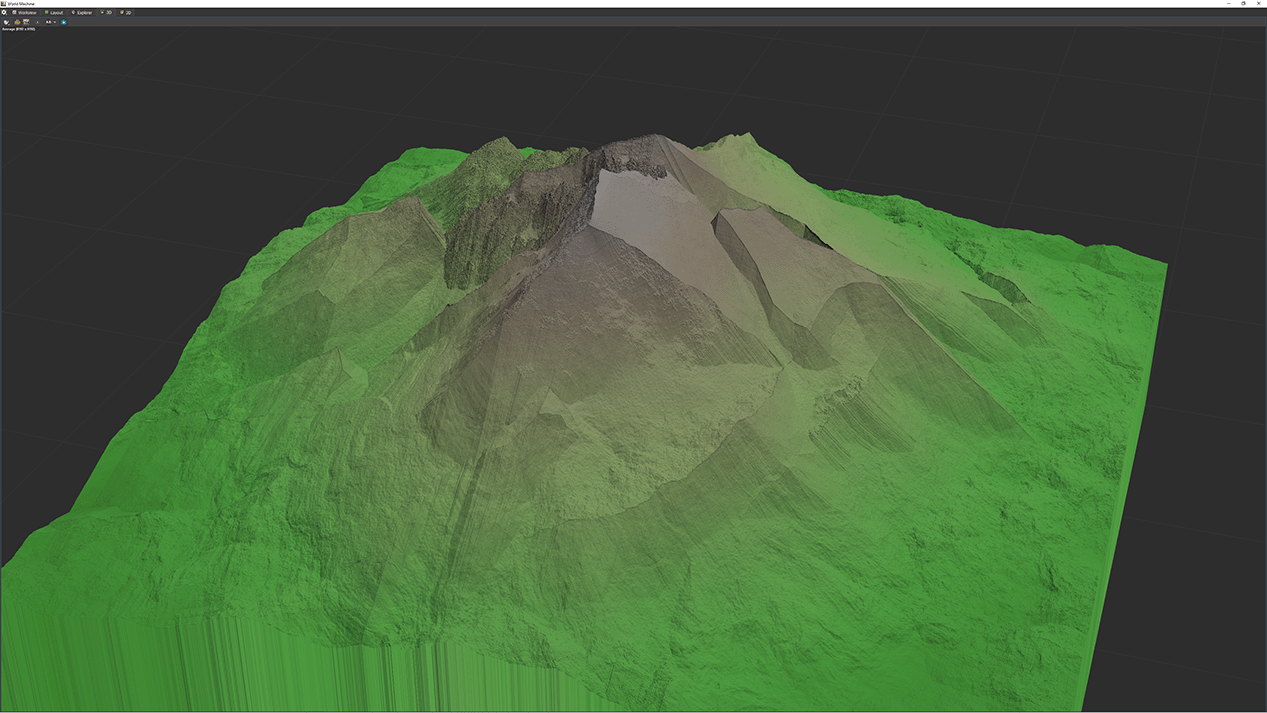
In either case, you can then use masks (either hand drawn or procedural) to mask out areas in the Displacement device to have better control on where the breaking is visible (though I didn’t do this in either of the examples below).
This method got me a result much closer to the original image in way less time with way fewer devices. Let me know what you think!
EDIT
Fun fact, with a little bit of playing around, the above method can also be used to create really nice debris fields/ruined structures.
Thank you for your answers! Very helpful what you put together there.
This is definitely way closer to what i have gotten so far. Im kind of glad that there isnt just a simple node that went over my head.
Also this gives me an idea. I dont know if this would be that efficient but maybe using the talus mask for that might work. I think i will play around with that next week. Too busy this week to get anything done but i really appreciate the help and the tmd file!
Figuring out a good workflow for this has been a really fun challenge, and has given me a lot of fresh ideas for terrain generation, so I’ll probably keep trying new things until the inspiration runs dry or I manage to get a “perfect” workflow/result! I’ll keep you posted if I figure out anything new!
I also find the low-lying terrain really interesting, because I feel like that is definitely a style of terrain I used to know how to do, but cannot for the life of me figure out how I used to do it. I’m wondering if possibly the original example used GeoGlyph while it was still available/functioning. If so, that could be part of the reason recreating it is proving difficult.
That would be very much appreciated and I will of course do the same.
Do you mean the base of a mountain or more something like the uk type of terrain?
I sadly was never able to play around with GeoGlyph even though it did look really amazing to me.
Dropping my experimentations for this technique, far from perfect but it may help you, good luck! May revisit this in the future, interesting for sure.
a-new-technique-for-me.tmd (483.8 KB)
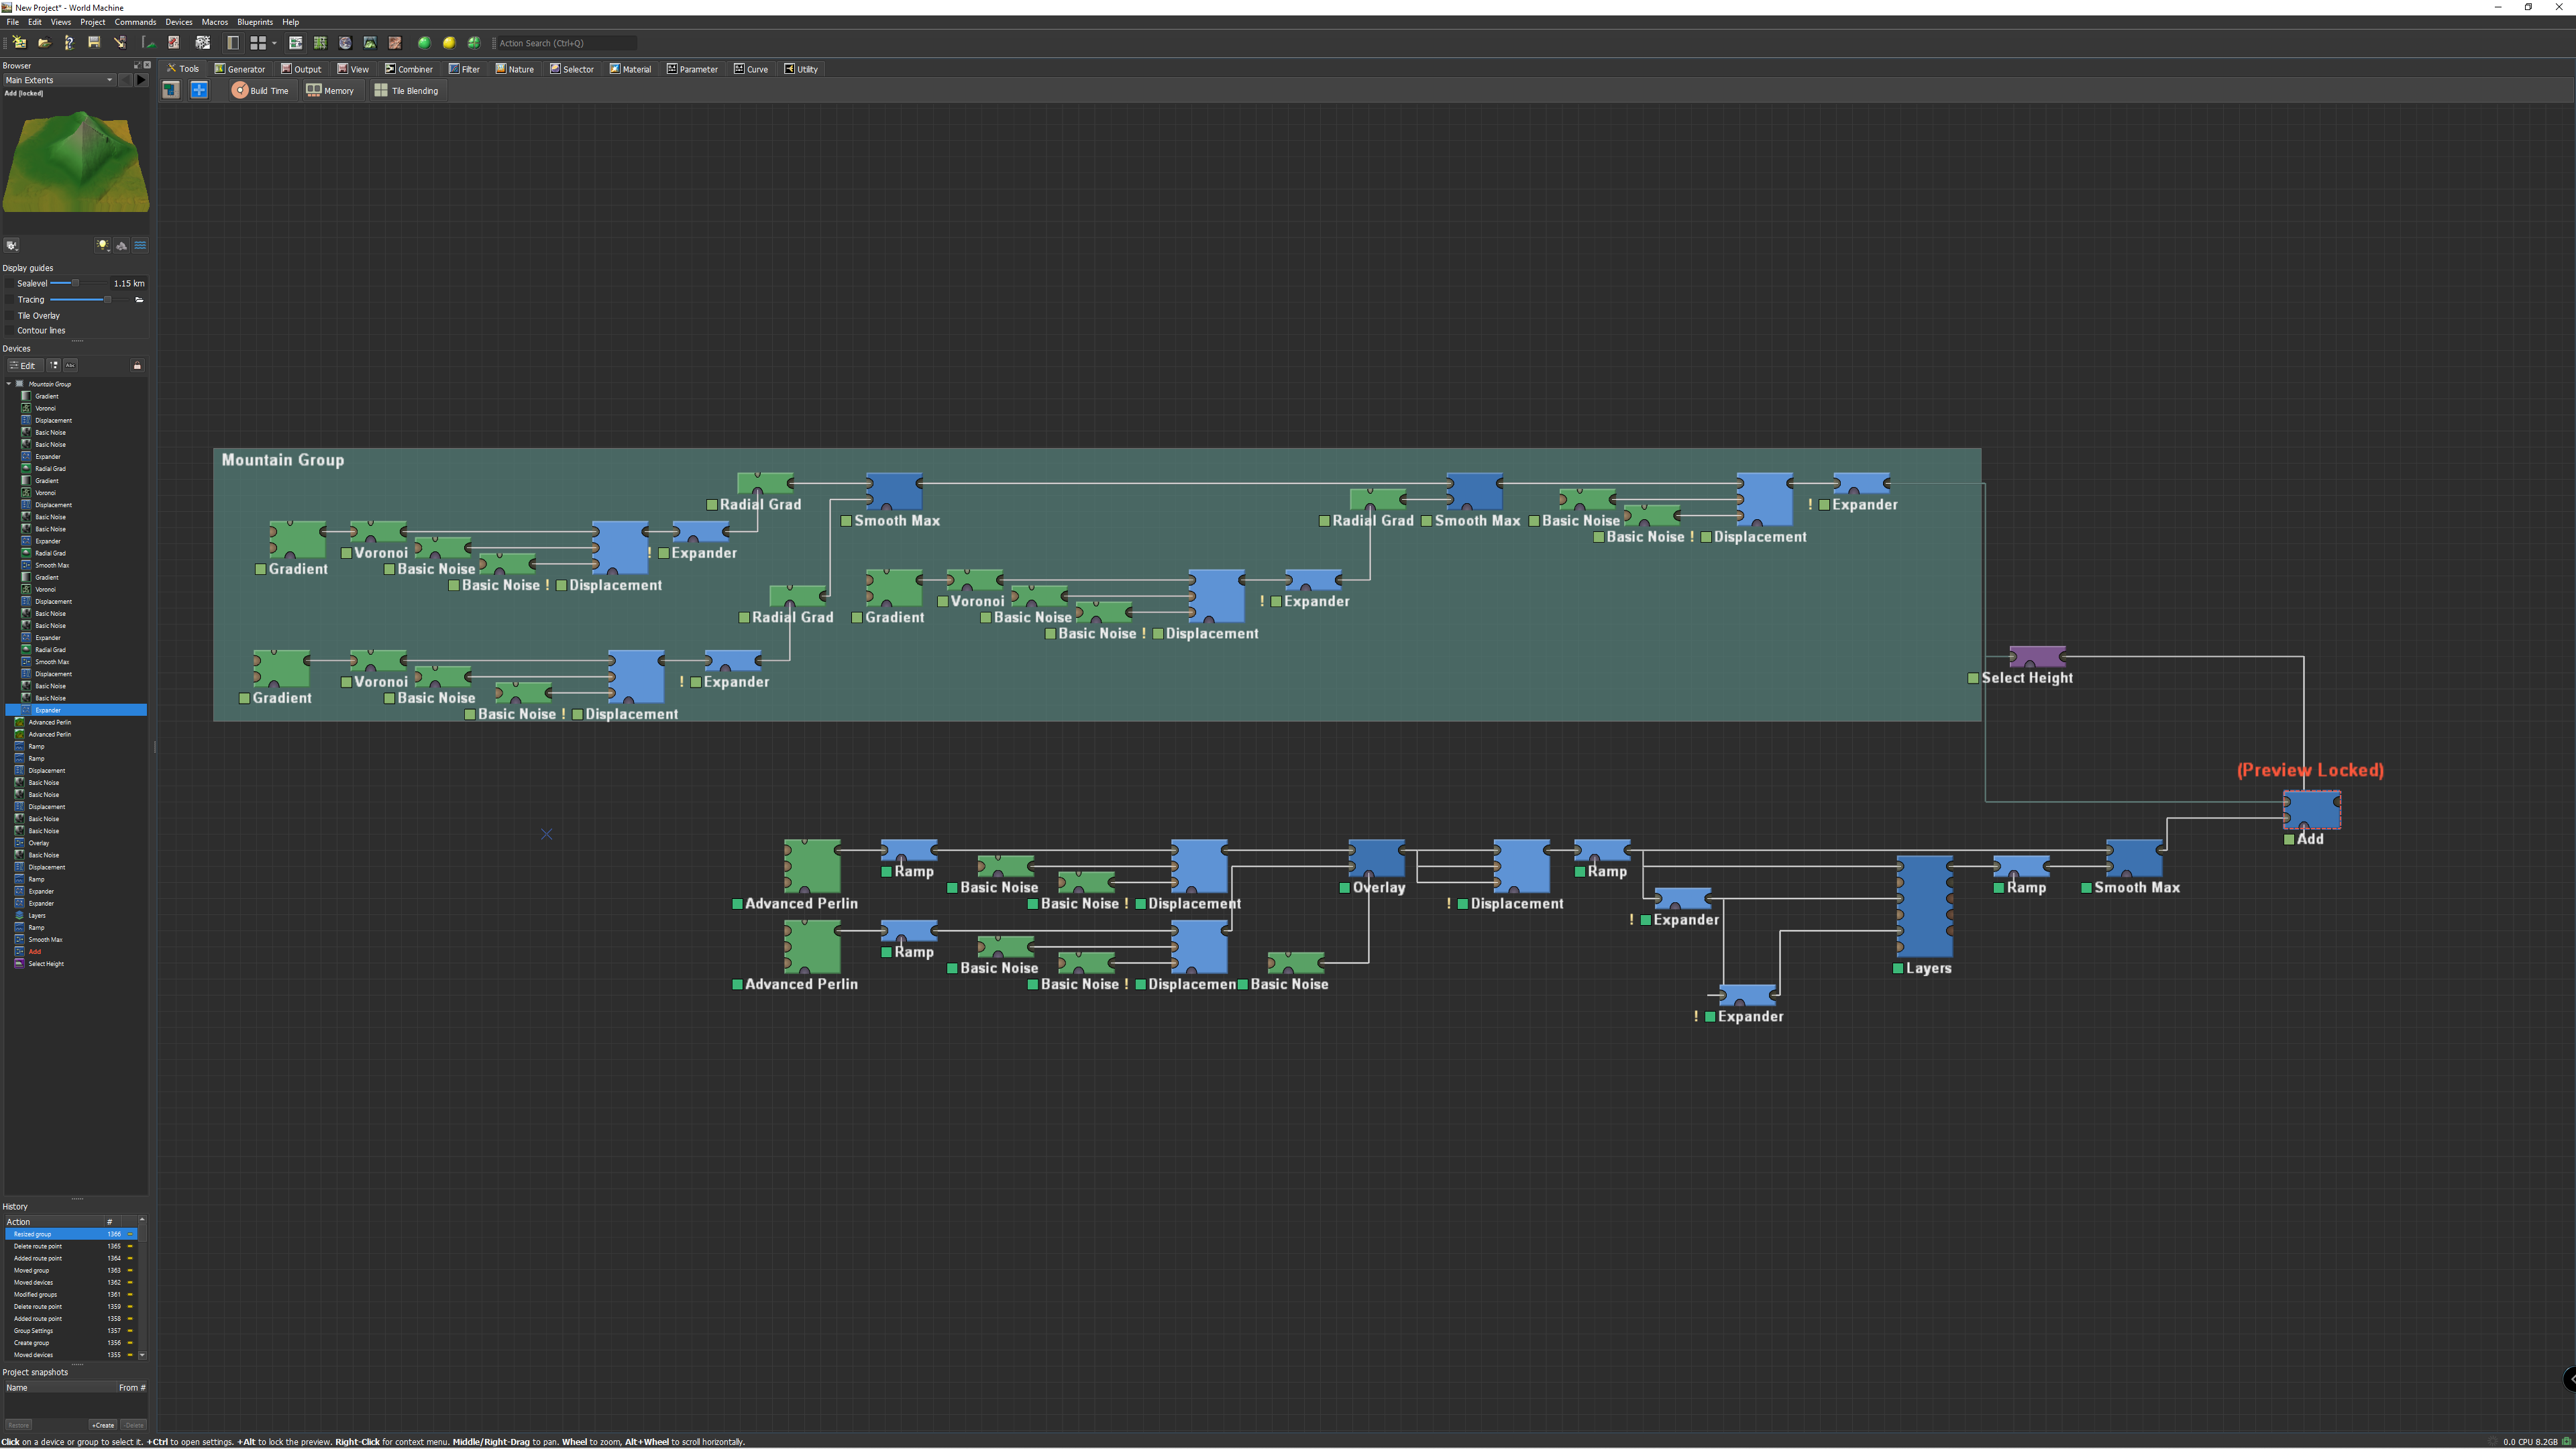
I’ve had a new idea, but I’m now running into issues where I can emulate individual aspects of the reference project, but most of my new ideas that work for one part make another part not work anymore. That being said, this new idea I had led me to create a new macro that I’ll share here and in the macro area in case anyone wants to give this method a go, it basically just involves stacking Voronoi generators at different scales to create a repeating pattern. The macro just helps with that. It feels like a step in the right direction, but I’m unsure where to go from here (part of that being burning out my brain getting the macro all set).
Multiscale Voronoi.dev (114.9 KB)
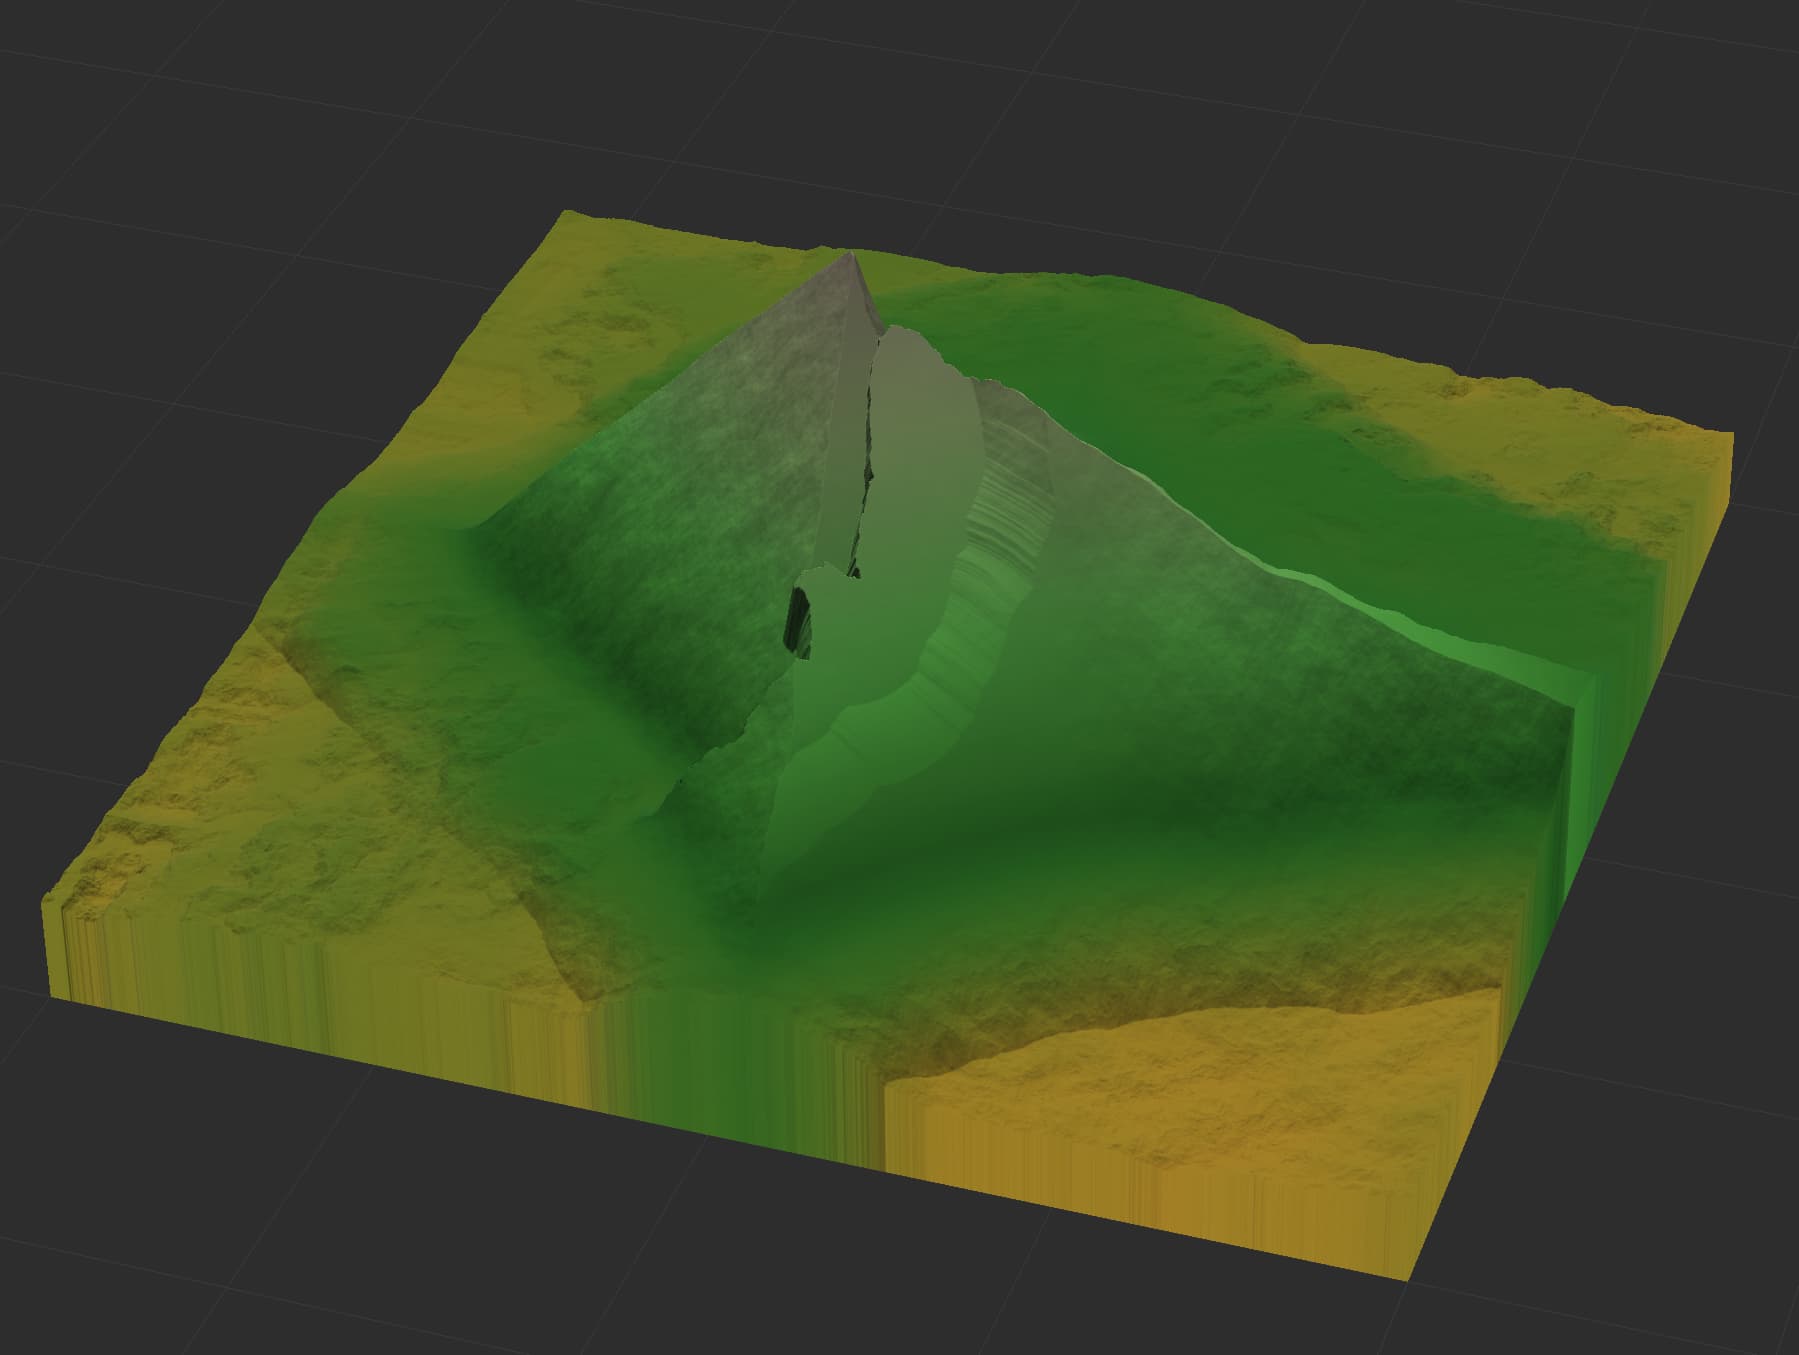
I feel like I’m getting a bit closer with this one, my main struggle now is figuring out how to carve the details into the cliff faces. I still hold that it looks like an Expander device set to Shrink (Min) and Square, but cannot for the life of me get it to carve out details like we see in the example.
Voronoi devices set to a Quasi-Euclidean F1 Cells to determine random breakpointsLevels device to ensure the raised height is proportional to the original heightVoronoi device is scaled down slightly and used to raise more sections of the terrain, creating the semi-repeating pattern of fractures we see in the original exampleforumMountain008.tmd (282.7 KB)
What follows is my own sort of mental “To-Do List” that I think would result in the correct look in the final results. If anyone has any ideas on any of the items, please feel free to chime in!
Voronoi device, but using solid noise input with a Voronoi device in Cells mode led to unpredictable results when scalingVoronoi device rather than a Cells mode would produce more desirable results?Erosion device, a Select Slope device, a Voronoi device, and a Select Height device, as this would lead to more natural/less random looking breakpoints, but no amount of fiddling with that led to desirable results without having to resort to tracing shapes in a Shapes device, and I’m trying to keep the process entirely proceduralI wish I had time to try something myself but im busy with a personal project and a rather large commission at the moment.
This looks very promising though. Id imagine you can get somewhere with that. Maybe with a simple displaced crystalize node or something along those lines.
I think Something like a flood fill node from Substance Designer seems kind of helpful if we had it.
I like this thread!
Im doing some cliffs for a uk/Ireland type of map atm and ive found the ambient occlusion device to be rather helpful for getting some detail into the sides. Once im done with the cliffs i will get to some mountains and try it on them.
I still keep coming back to this idea trying to get it right, I think I might be getting closer in some ways, but further away in others.
In any case, I had an idea before going to bed tonight that I just wanted to quick lay out, get some eyes on it. This one involves stacking diamond Radial Grad devices masked by a terrain that is a linear Gradient device fed as the crystallize input of a Voronoi device in Quasi-Euclidean. That terrain is then distorted slightly to give some rougher edges.
The different stacks have the linear Gradient at different angles to get the little plates jutting up at different spots, and then they are all fed into a Combiner set to Smooth Max, though it might be cleaner to route them all into a Layers device with each layer set to Heightblend Merge.
Anyway, here’s the results:
你好。我很高兴看到你在论坛上帮助其他用户。
关于这个山崖效果。我想给你提供一些有用的信息。
这个效果在WM里成为很多人棘手的问题,相信你也察觉到了,这并不是WM自带的侵蚀效果能制作的。
这更倾向于使用很多基础节点用丰富的组合方式创建出来一个山脉。
这里面最麻烦的点在于那块硬板岩的塑造,对吧。你可以查看一下我的思路。希望能帮助到你。
我相信你一看就能明白我的意思。
这个玩意比起软件本身的知识来说。更考验的其实是对程序纹理的更深的理解。
我理解他们需要付费的渴求。但是你。你是我更欣赏的那种人。
翻译:
Hello. I am glad to see you helping other users on the forum.
About this cliff effect. I want to give you some useful information.
This effect has become a thorny problem for many people in WM. I believe you have also noticed that this is not something that WM’s own erosion effect can create.
This is more likely to create a mountain range using many base nodes in rich combinations.
The hardest part about this is the hard slate, right? You can check my thoughts. I hope it helps.
I’m sure you’ll see what I mean.
This thing is more than the knowledge of the software itself. What is more challenging is actually a deeper understanding of procedural textures.
I understand their need to pay. But you. You’re the kind of guy I admire more.
Hey i really like your result, do you mind sending me the TMD so i can mess around with this?